The Settings page and General
Find every settings page, then fill in your store's details, defaults and order ID in General.
Settings is where you decide how your whole store works: its details, the people who work on it, your plan, how buyers pay and get their orders, taxes, locations, apps, addresses, emails, policies and your own fields. This part of the guide goes through every settings page in the order the Settings page lists them.
Open Settings
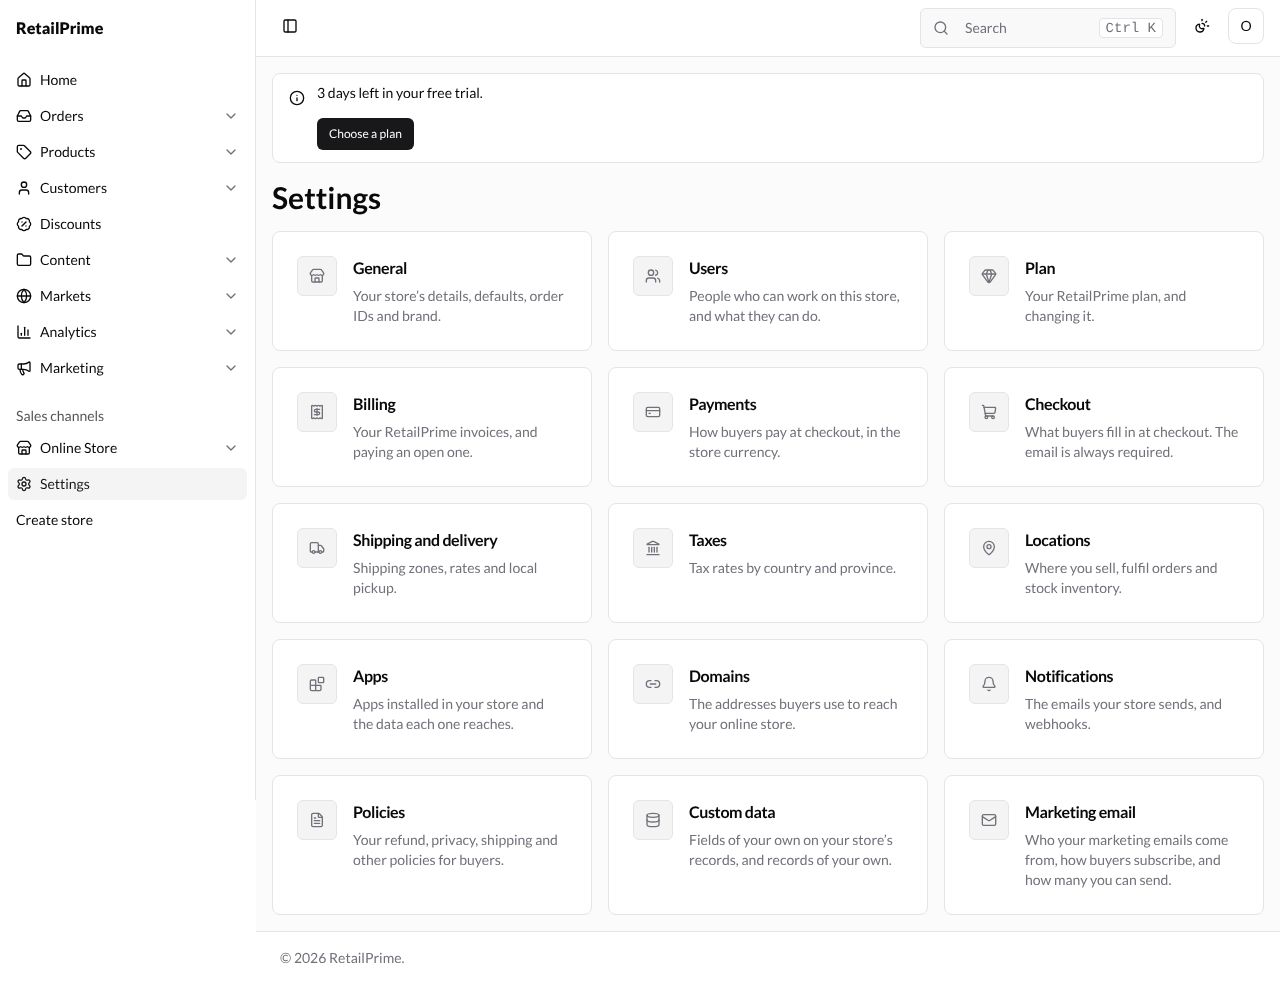
In the sidebar, press Settings. The Settings page shows a card for each settings page, each with a line saying what it is for:
| Card | What it says |
|---|---|
| General | Your store’s details, defaults, order IDs and brand. |
| Users | People who can work on this store, and what they can do. |
| Plan | Your RetailPrime plan, and changing it. |
| Billing | Your RetailPrime invoices, and paying an open one. |
| Payments | How buyers pay at checkout, in the store currency. |
| Checkout | What buyers fill in at checkout. The email is always required. |
| Shipping and delivery | Shipping zones, rates and local pickup. |
| Taxes | Tax rates by country and province. |
| Locations | Where you sell, fulfil orders and stock inventory. |
| Apps | Apps installed in your store and the data each one reaches. |
| Domains | The addresses buyers use to reach your online store. |
| Notifications | The emails your store sends, and webhooks. |
| Policies | Your refund, privacy, shipping and other policies for buyers. |
| Custom data | Fields of your own on your store’s records, and records of your own. |
| Marketing email | Who your marketing emails come from, how buyers subscribe, and how many you can send. |
Press a card’s name to open that page.
General
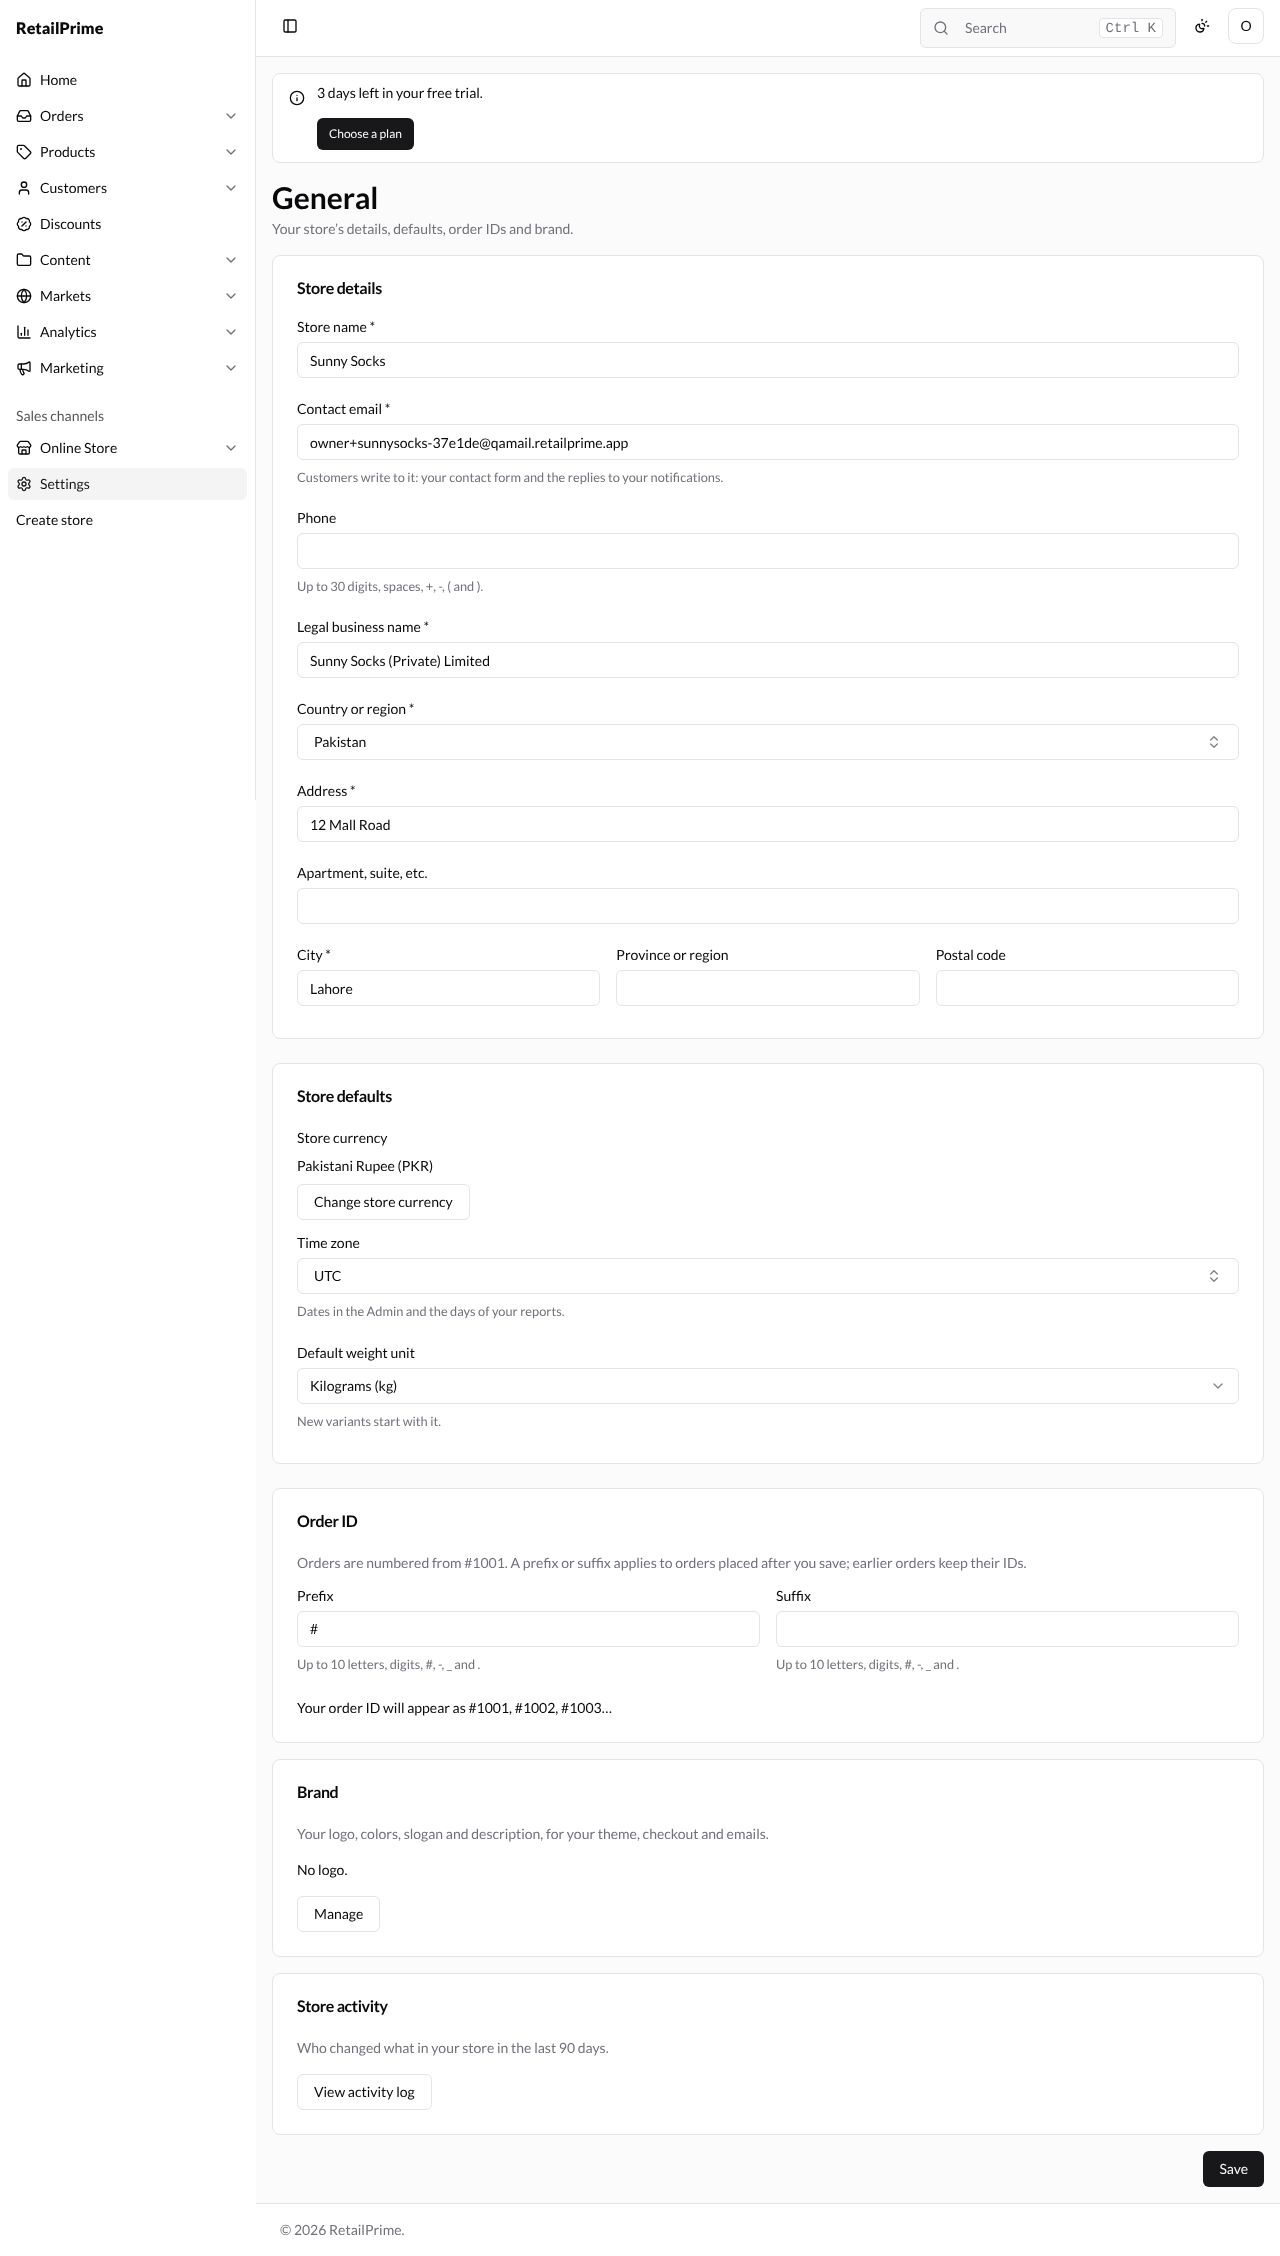
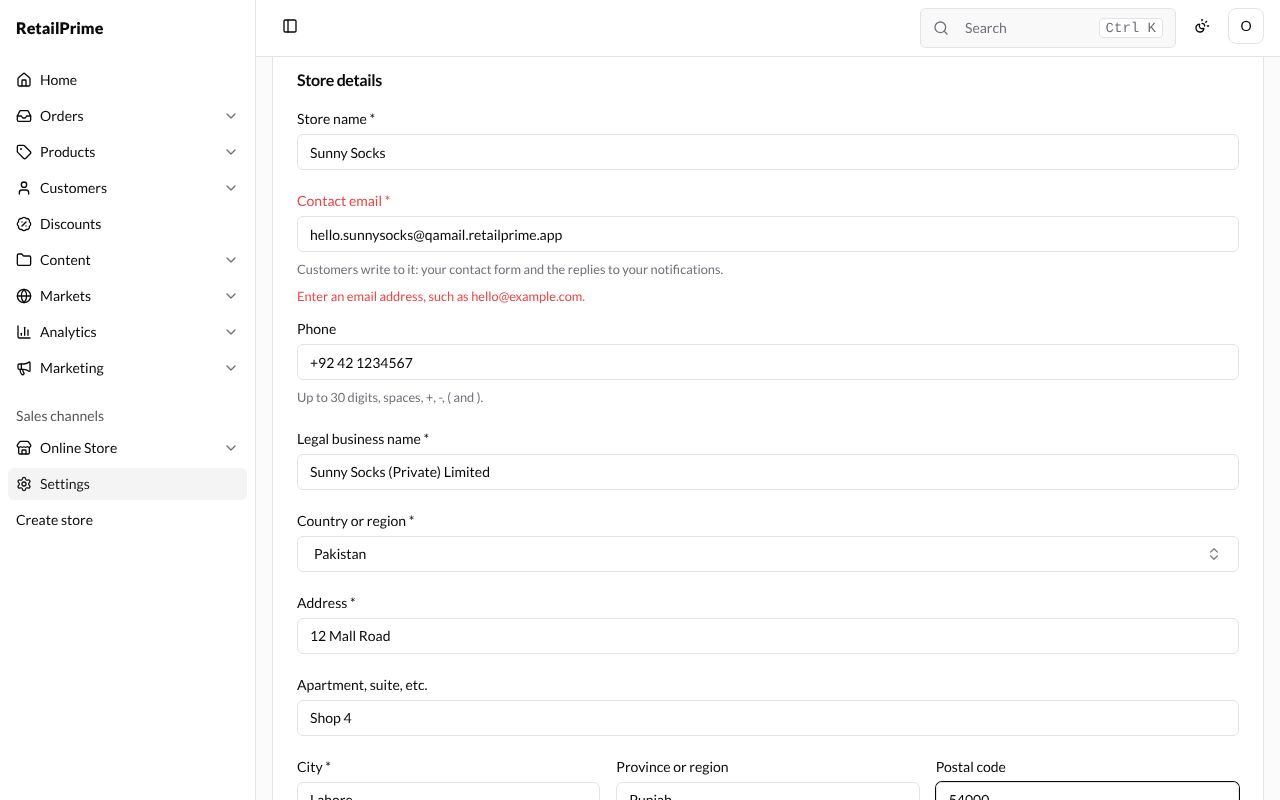
Press General. The page says Your store’s details, defaults, order IDs and brand. It has five cards (Store details, Store defaults, Order ID, Brand and Store activity) and one Save button at the bottom for the first three.
When you created your store in part 1, its name, legal name and address were filled in for you. Here they are for Sunny Socks:
Store details
| Box | What to type | Example |
|---|---|---|
| Store name (required) | The name buyers see | Sunny Socks |
| Contact email (required) | Customers write to it: your contact form and the replies to your notifications. | hello.sunnysocks@qamail.retailprime.app |
| Phone | Up to 30 digits, spaces, +, -, ( and ). | +92 42 1234567 |
| Legal business name (required) | Your company’s registered name | Sunny Socks (Private) Limited |
| Country or region (required) | Choose from the list | Pakistan |
| Address (required) | Street and number | 12 Mall Road |
| Apartment, suite, etc. | Anything more | Shop 4 |
| City (required) | Lahore |
|
| Province or region | Punjab |
|
| Postal code | 54000 |
If a box is not right when you press Save, its name turns red with a message under it. Here the contact email has no @, so it says Enter an email address, such as hello@example.com. Fix it and press Save again.
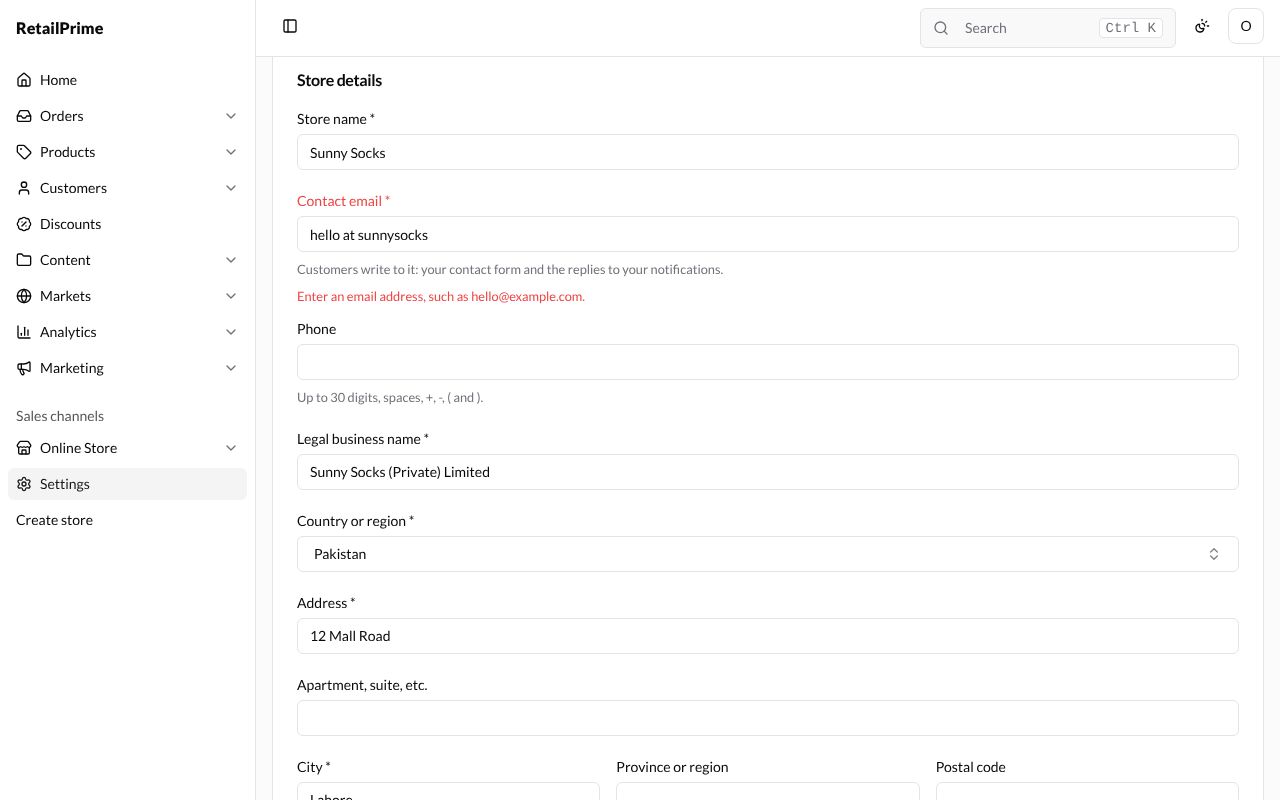
With every box filled in (the red message stays until you press Save again):
Store defaults and Order ID
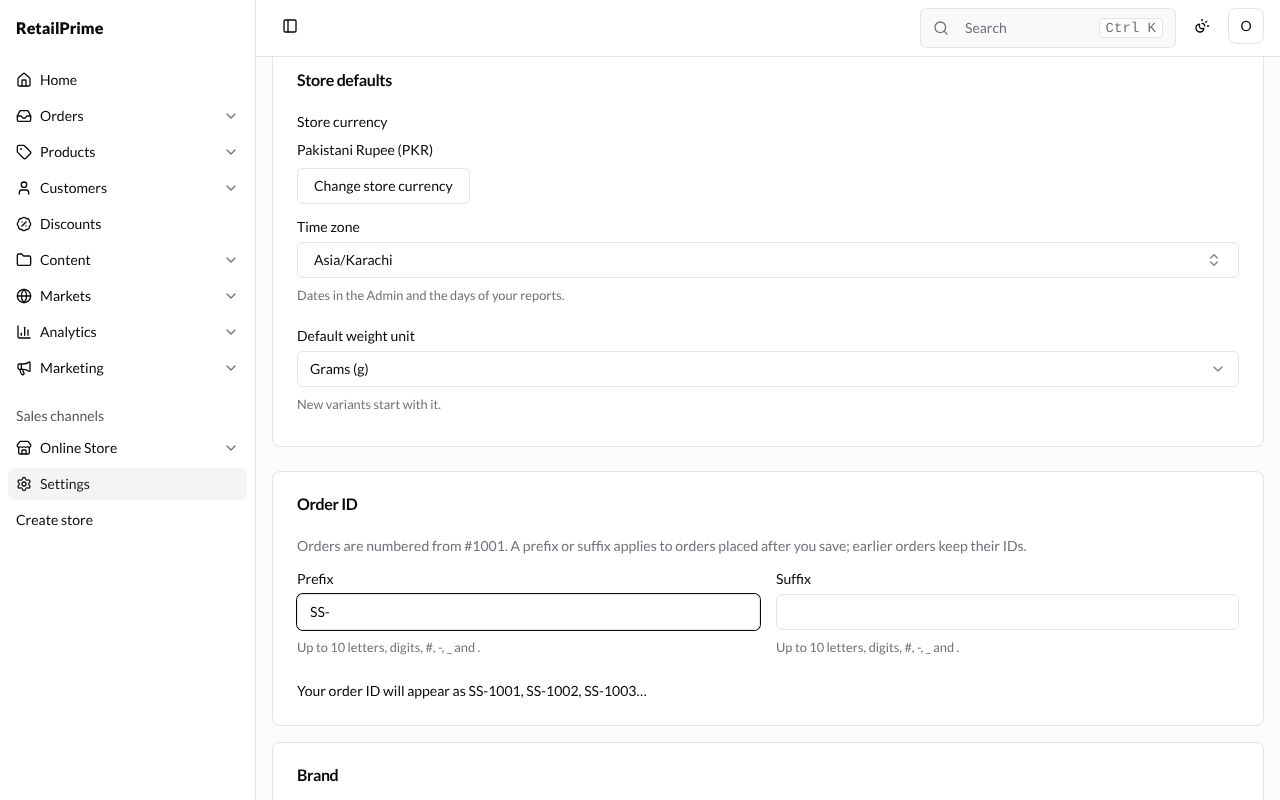
Store defaults:
| Box | What it does | Example |
|---|---|---|
| Store currency | The currency of your prices. It is changed with Change store currency, on its own page | Pakistani Rupee (PKR) |
| Time zone | Dates in the Admin and the days of your reports. Type in the list to find your zone | Asia/Karachi |
| Default weight unit | New variants start with it. Choose Kilograms (kg), Grams (g), Pounds (lb) or Ounces (oz) | Grams (g) |
Order ID says Orders are numbered from #1001. A prefix or suffix applies to orders placed after you save; earlier orders keep their IDs.
| Box | What to type | Example |
|---|---|---|
| Prefix | Put in front of the number. Up to 10 letters, digits, #, -, _ and . It starts as # |
SS- |
| Suffix | Put after the number, with the same rule | (empty) |
Under the boxes, a line shows what your order IDs will look like as you type: Your order ID will appear as SS-1001, SS-1002, SS-1003…
Save
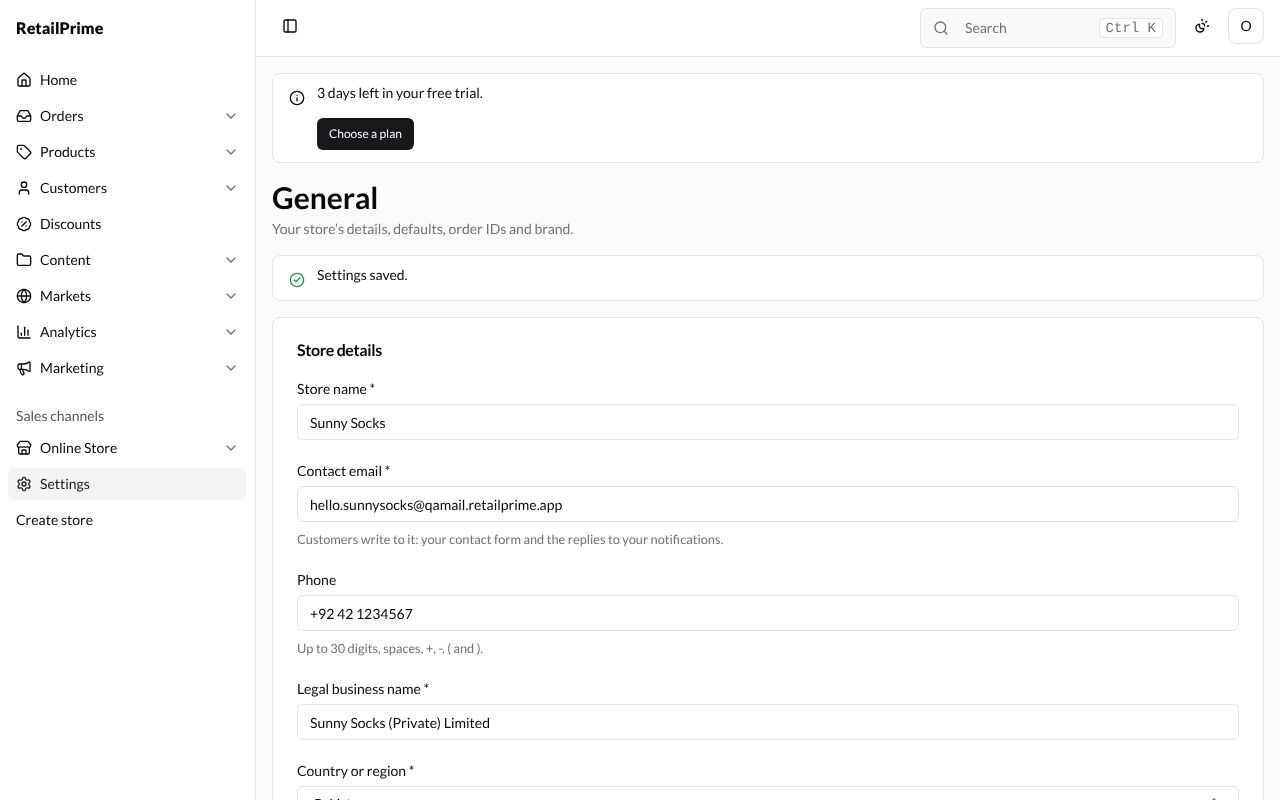
Press Save at the bottom of the page. A green box at the top says Settings saved.
The Brand and Store activity cards each open a page of their own: see Brand and store activity.
What’s next
Brand and store activity: add your logo and colours, and see who changed what.