Automations
Turn on the ready-made emails that go out by themselves, such as a welcome email, set their delay, discount code and content, and send yourself a test.
An automation is an email that goes out by itself when a customer does something, such as signing up or leaving a checkout. There are five ready-made automations; you can turn each on or off and change its email. You can’t make new ones.
Open Automations
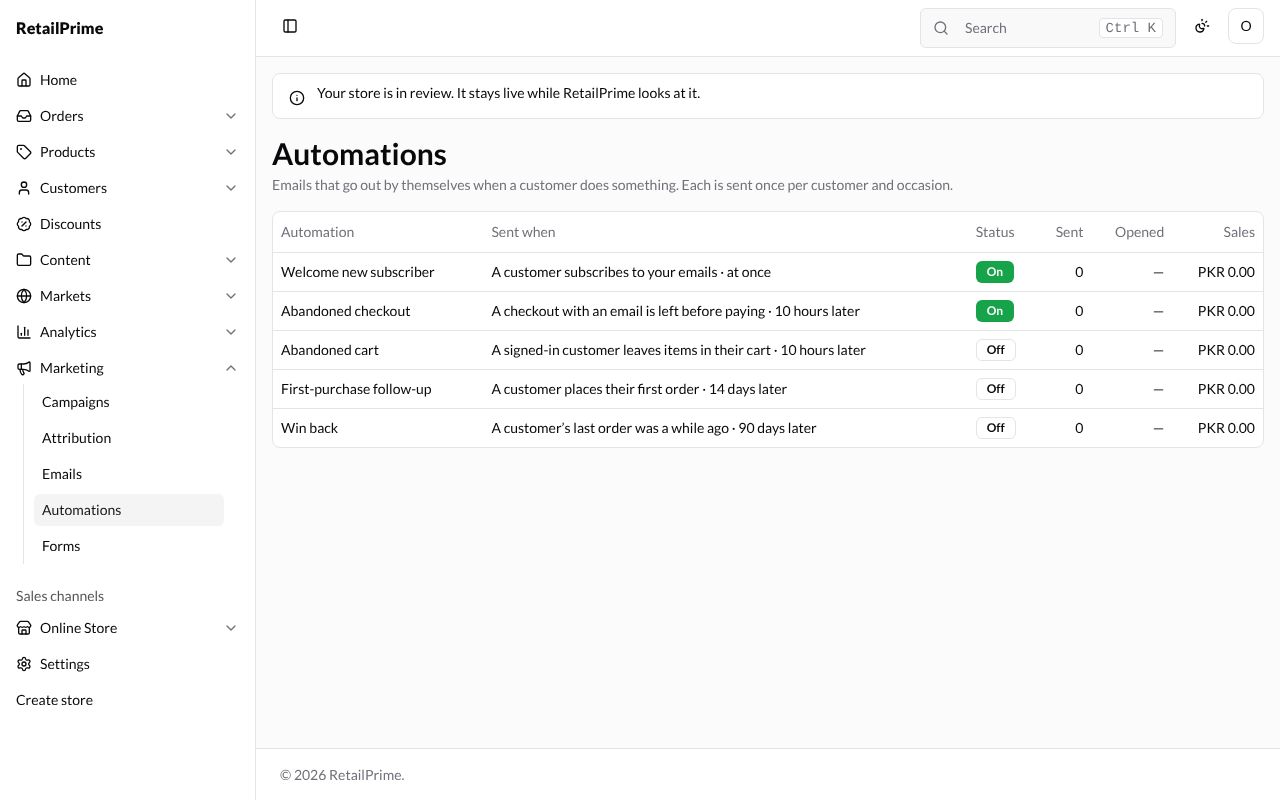
In the sidebar, press Marketing, then Automations. The page says Emails that go out by themselves when a customer does something. Each is sent once per customer and occasion.
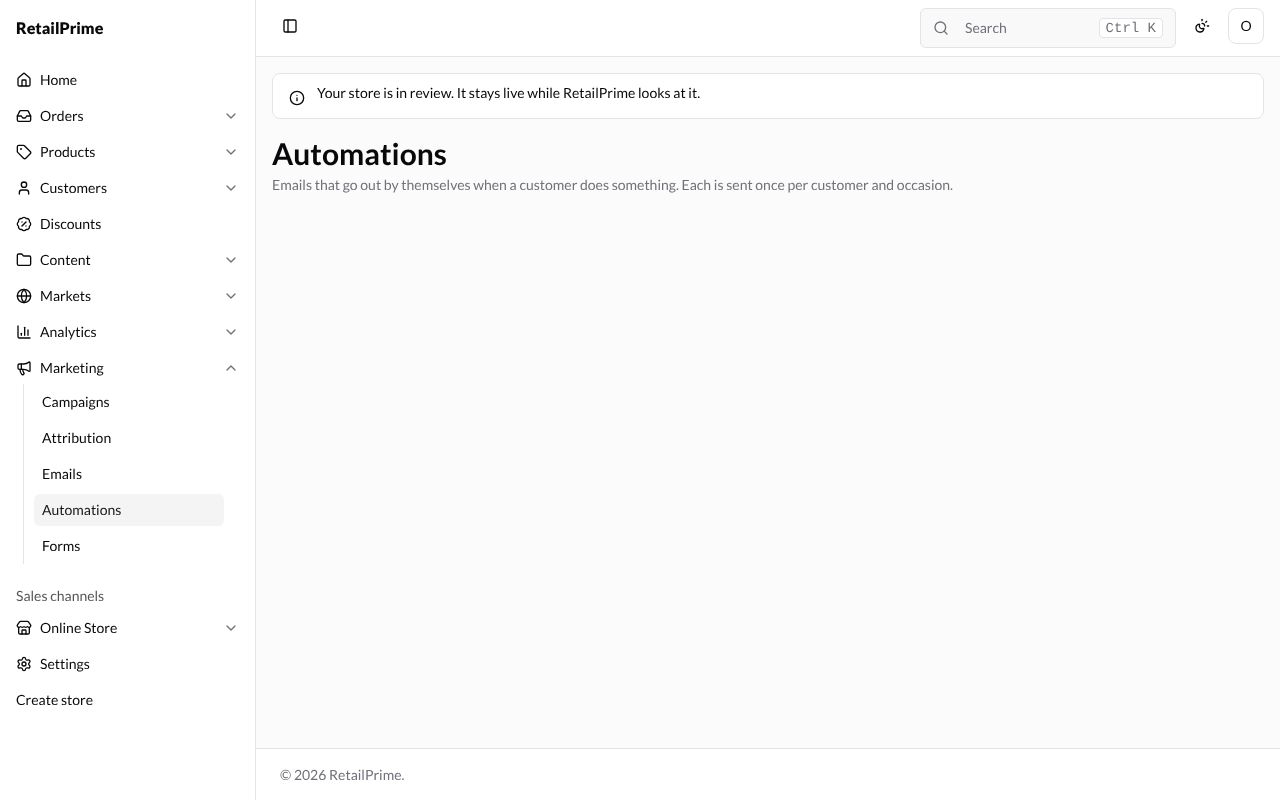
| Automation | Sent when (as the page says it, with its delay) |
|---|---|
| Welcome new subscriber | A customer subscribes to your emails · at once |
| Abandoned checkout | A checkout with an email is left before paying · 10 hours later |
| Abandoned cart | A signed-in customer leaves items in their cart · 10 hours later |
| First-purchase follow-up | A customer places their first order · 14 days later |
| Win back | A customer’s last order was a while ago · 90 days later |
The other columns are Status (On or Off), Sent (how many were sent), Opened and Sales (sales from orders that came from the email). A new store has only Abandoned checkout On: it is the email the abandoned checkouts page talks about.
An automation’s page
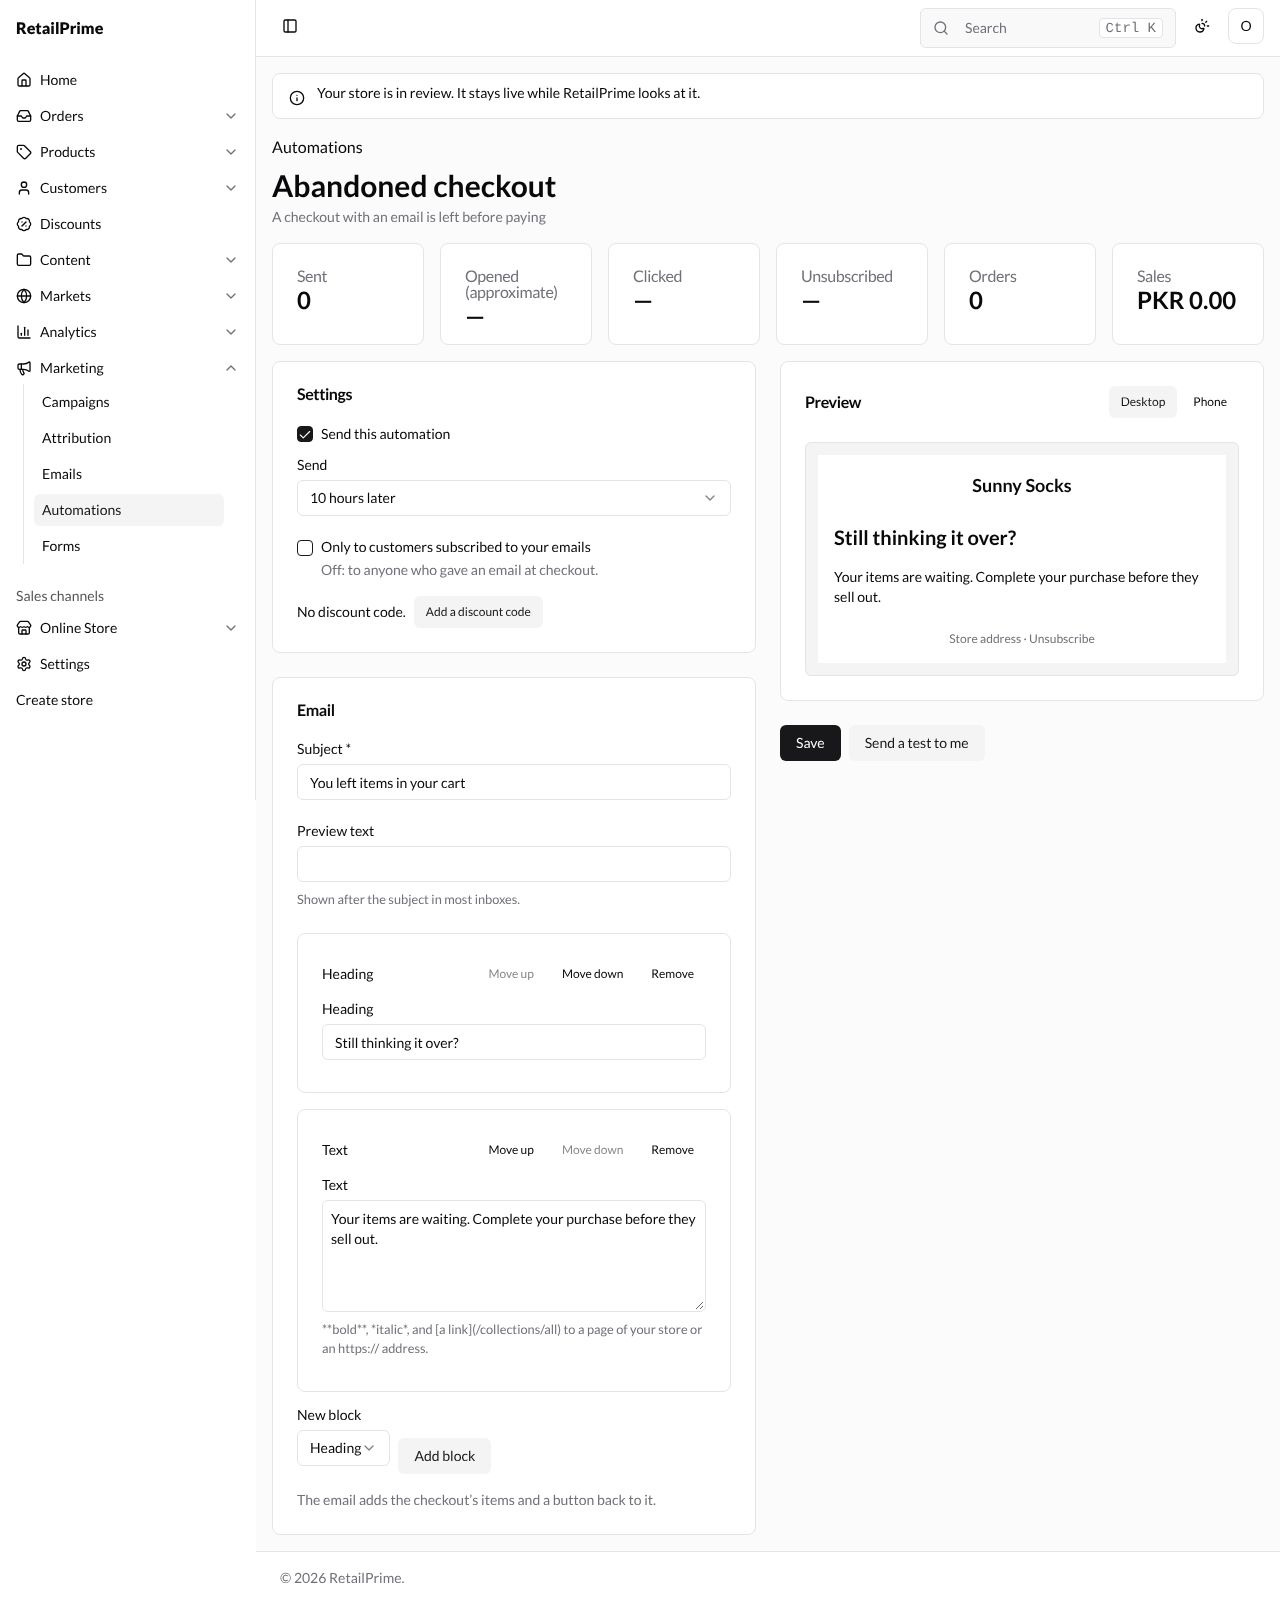
Press an automation’s name, such as Abandoned checkout. At the top are its results: Sent, Opened (approximate), Clicked, Unsubscribed, Orders and Sales. Under them:
Settings
| Box | What it does |
|---|---|
| Send this automation | Ticked: the automation is On |
| Send | How long after the customer’s action it goes out. Each automation has its own choices |
| Only to customers subscribed to your emails | Abandoned checkout only. Off: to anyone who gave an email at checkout. The other automations say Goes only to customers subscribed to your emails. |
| Add a discount code | Pick a code to add to the email; then Change code and Remove code |
Email: Subject, Preview text (Shown after the subject in most inboxes.) and the blocks, which work as in Emails. The abandoned checkout email says The email adds the checkout’s items and a button back to it.; the abandoned cart email The email adds a button back to the cart.
On the right is the Preview, with Desktop and Phone, and under it Save and Send a test to me.
Turn on the welcome email
-
Press Automations at the top left, then Welcome new subscriber.
-
Tick Send this automation.
-
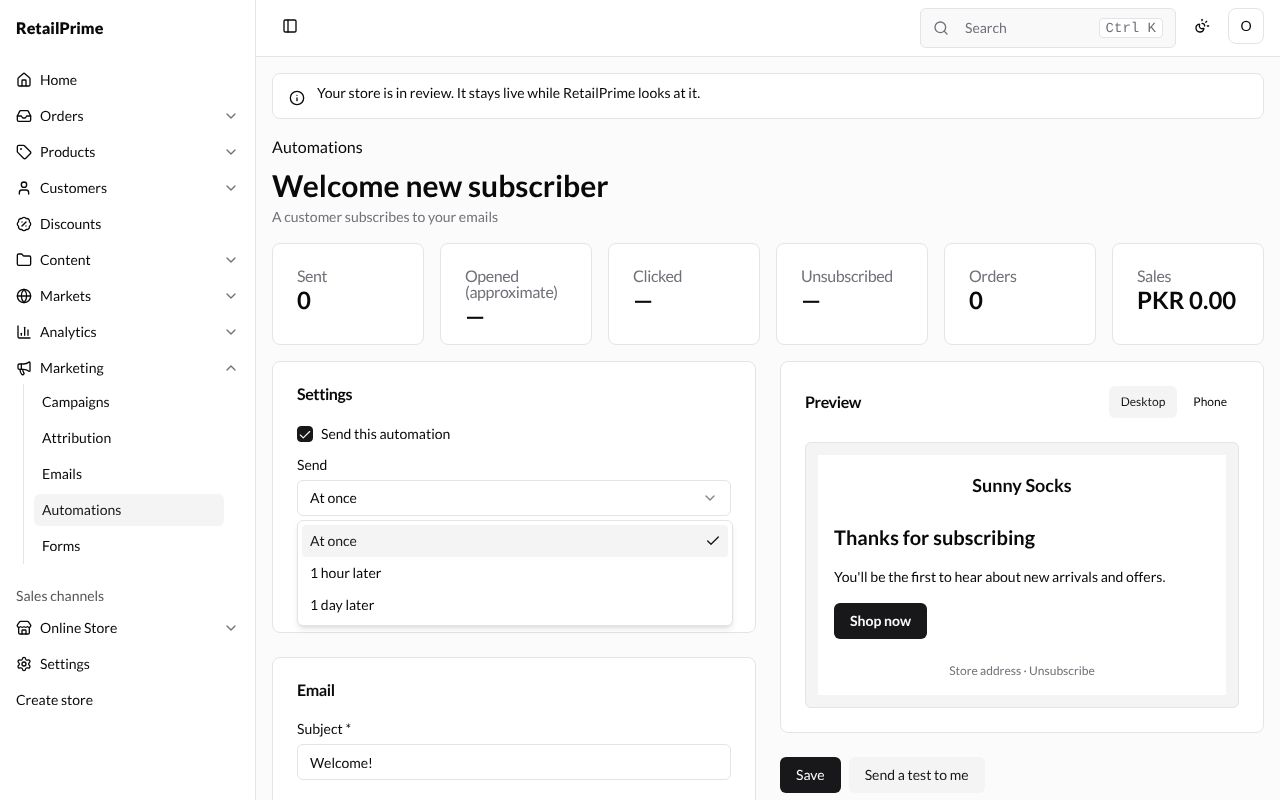
In Send, choose At once, 1 hour later or 1 day later.
-
Change the Subject, such as
Welcome to Sunny Socks. -
Press Add a discount code, search for the code, tick it and press Add 1.
-
Press Save. The page says Automation saved.
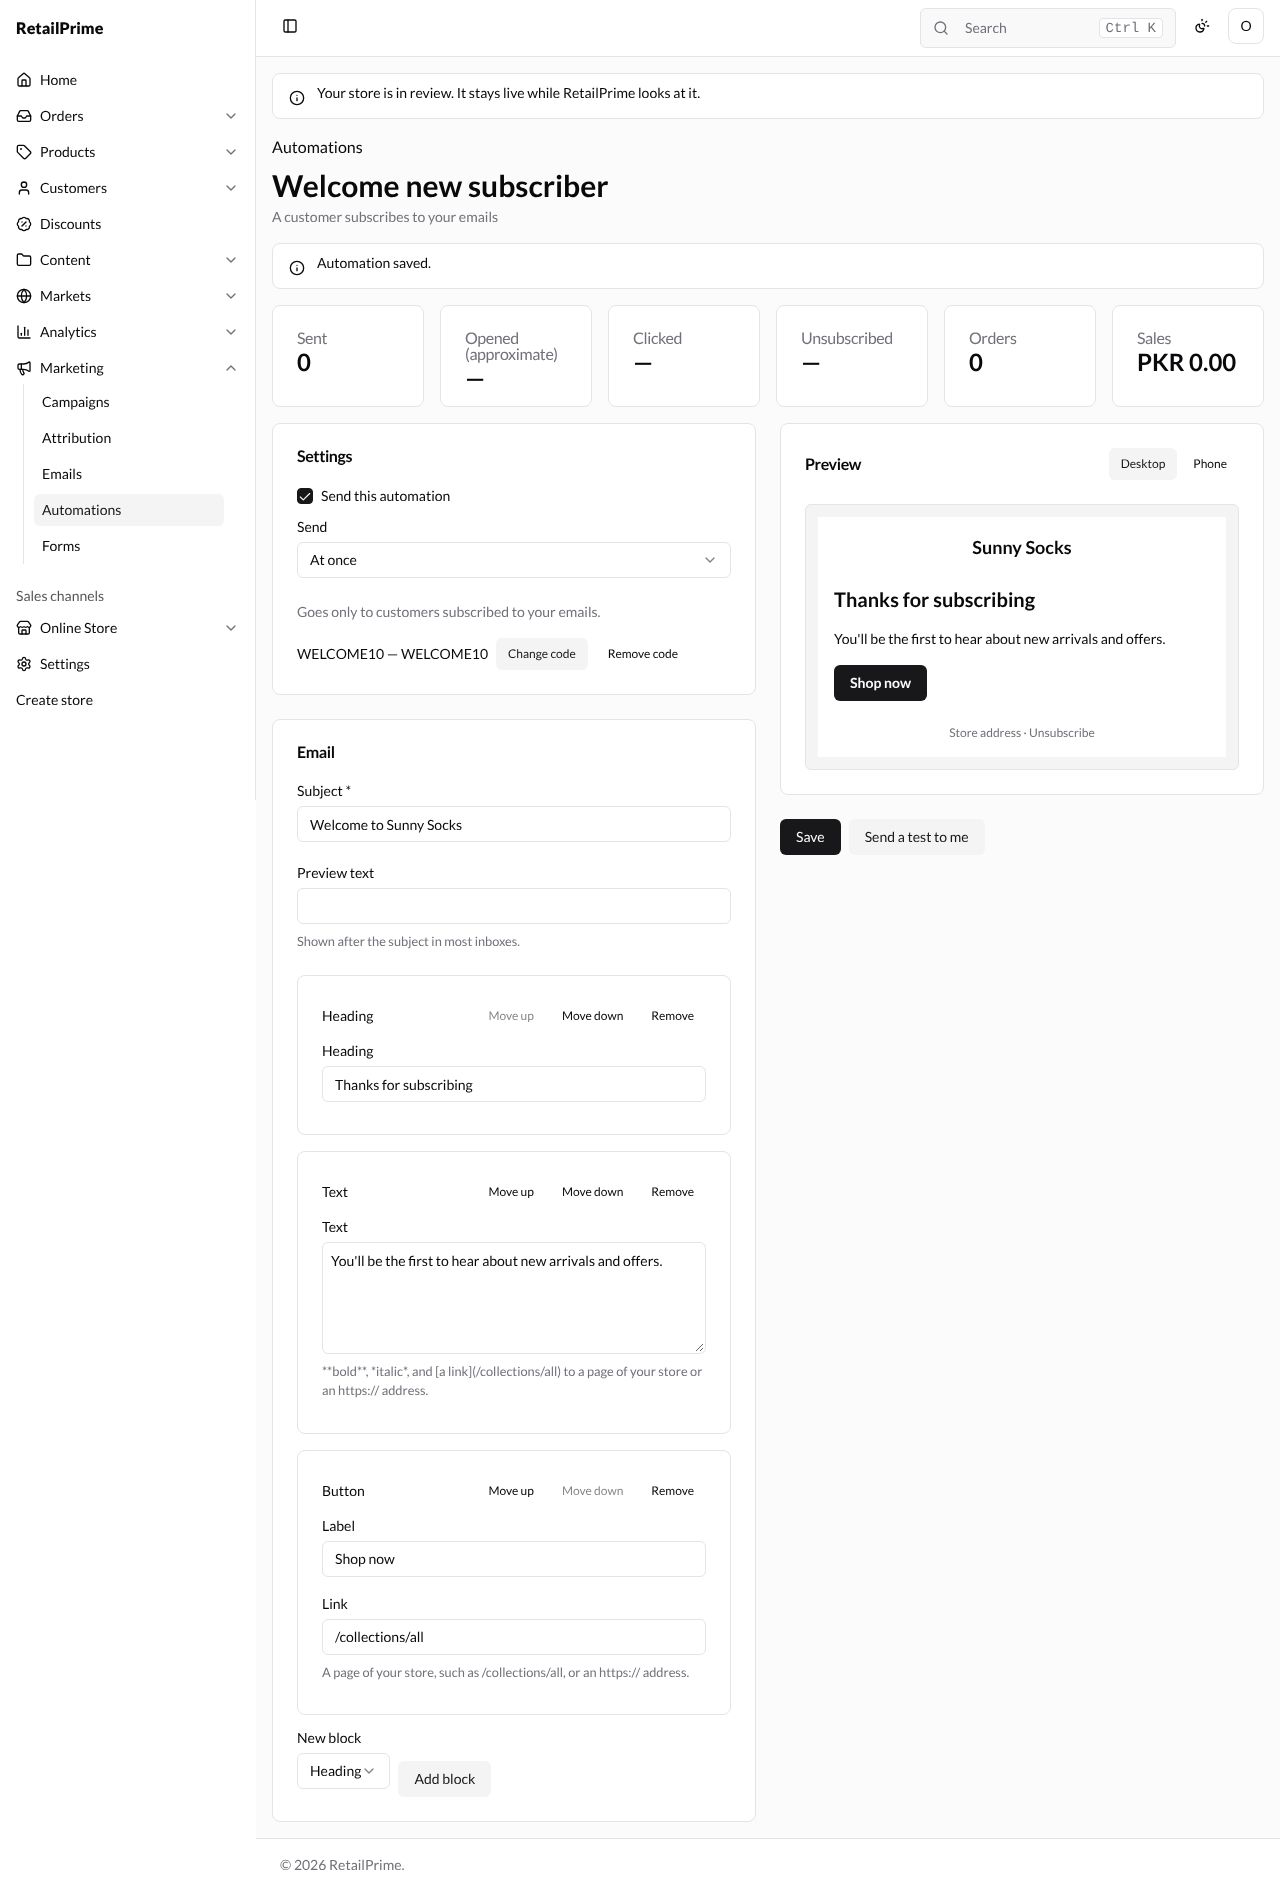
- Press Send a test to me. It saves, then sends the email to you. The page says A test email is on its way to you. The subject starts with [Test].
Back on Automations, Welcome new subscriber is now On. Every new subscriber gets it.
To turn an automation off, open it, untick Send this automation and press Save.
What’s next
Campaigns: group your emails and links under one name and see what they bring in.