Files
Upload pictures and other files, find them, give a picture its alt text, copy its link, use it elsewhere with Choose from Files, and delete it.
Files holds every picture, video, 3D model and other file of your store: the ones you upload here, and the ones you upload on a product or a blog post. From here you can use a picture anywhere in the Admin and the theme editor.
Open Files
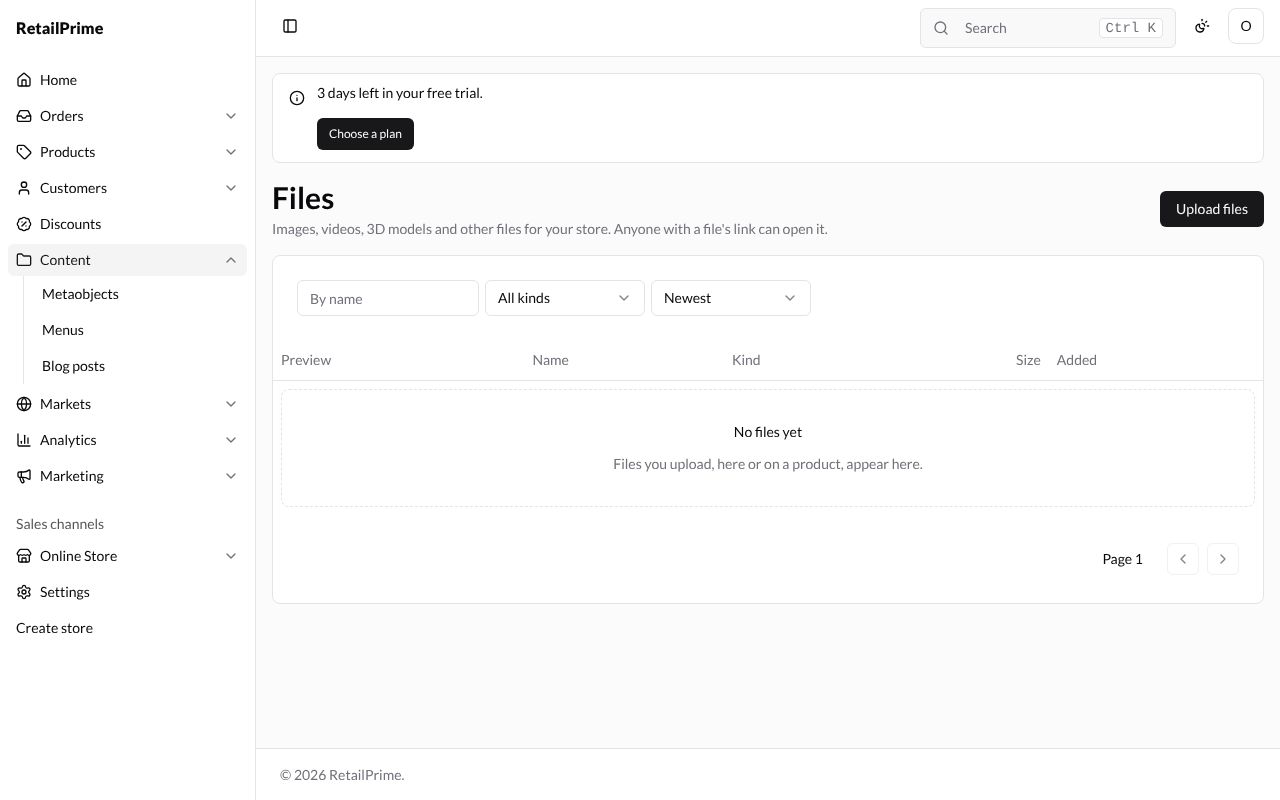
In the sidebar, press Content. The Files page opens. It says Images, videos, 3D models and other files for your store. Anyone with a file’s link can open it. A new store has No files yet: Files you upload, here or on a product, appear here.
Upload files
- Press Upload files at the top right.
- Pick one or more files on your computer. You can upload pictures (JPEG, PNG, GIF, WebP), videos (MP4, WebM, QuickTime), 3D models (GLB), and PDF, text, CSV, zip and JSON files.
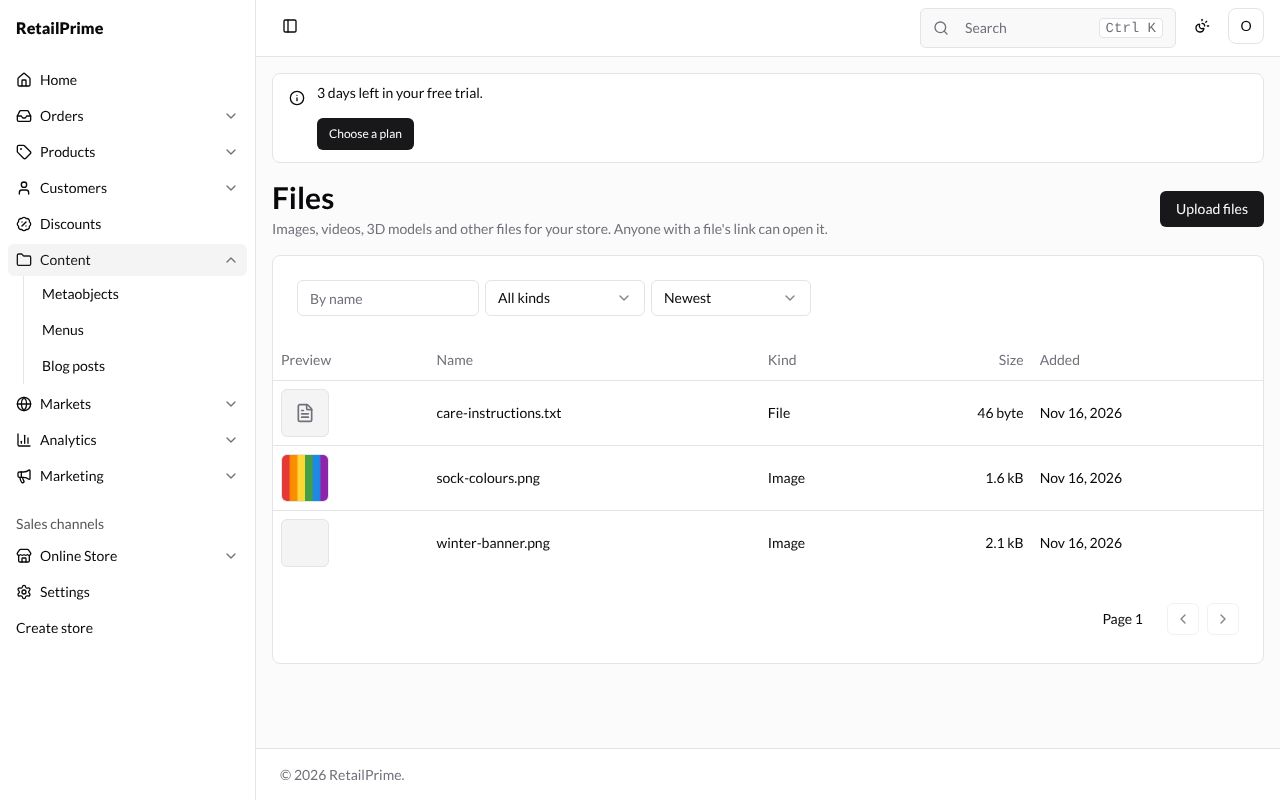
- Each file shows in the list once it is uploaded, with a small Preview, its Name, Kind (Image, Video, 3D model or File), Size and the date it was Added.
Find a file
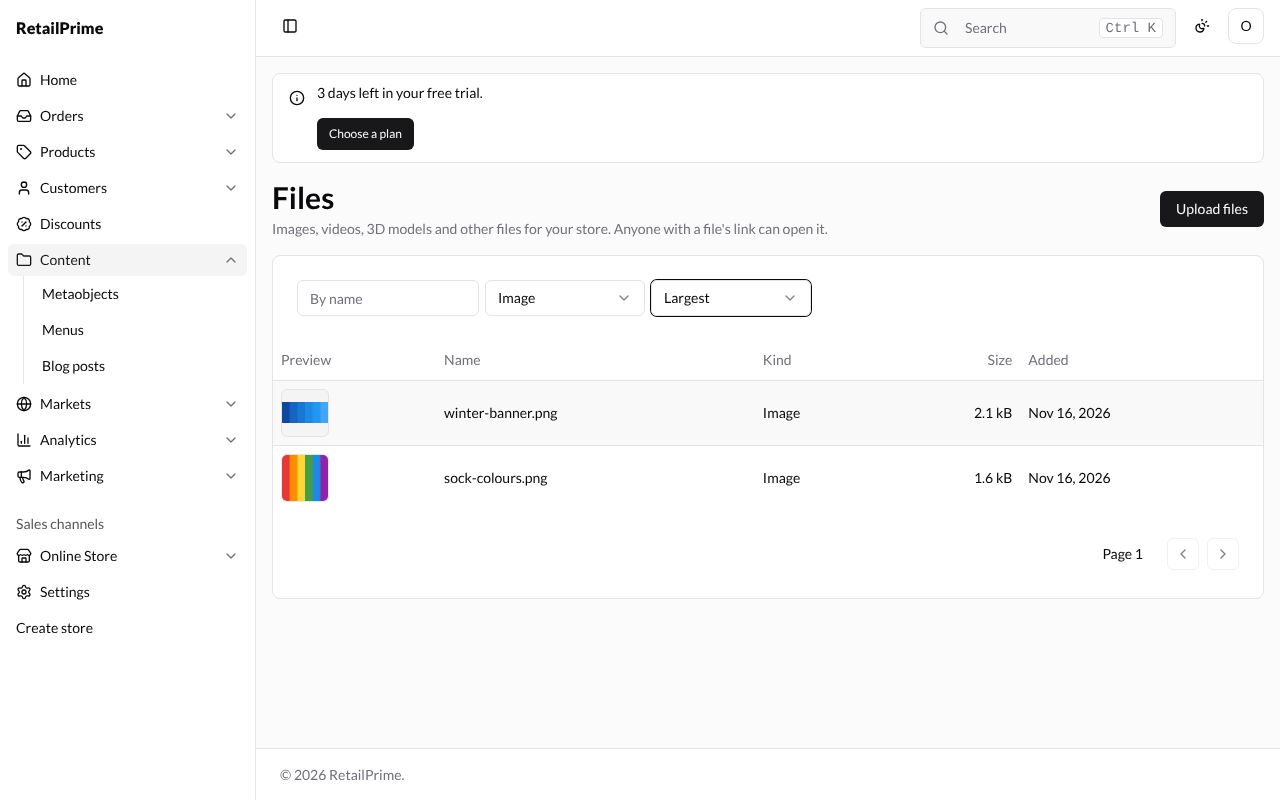
- Type in the By name box and press Enter.
- All kinds shows only one kind, such as Image.
- Newest sorts the list: Newest, Name or Largest.
A file’s page
Press a file’s name. Its page shows the picture and:
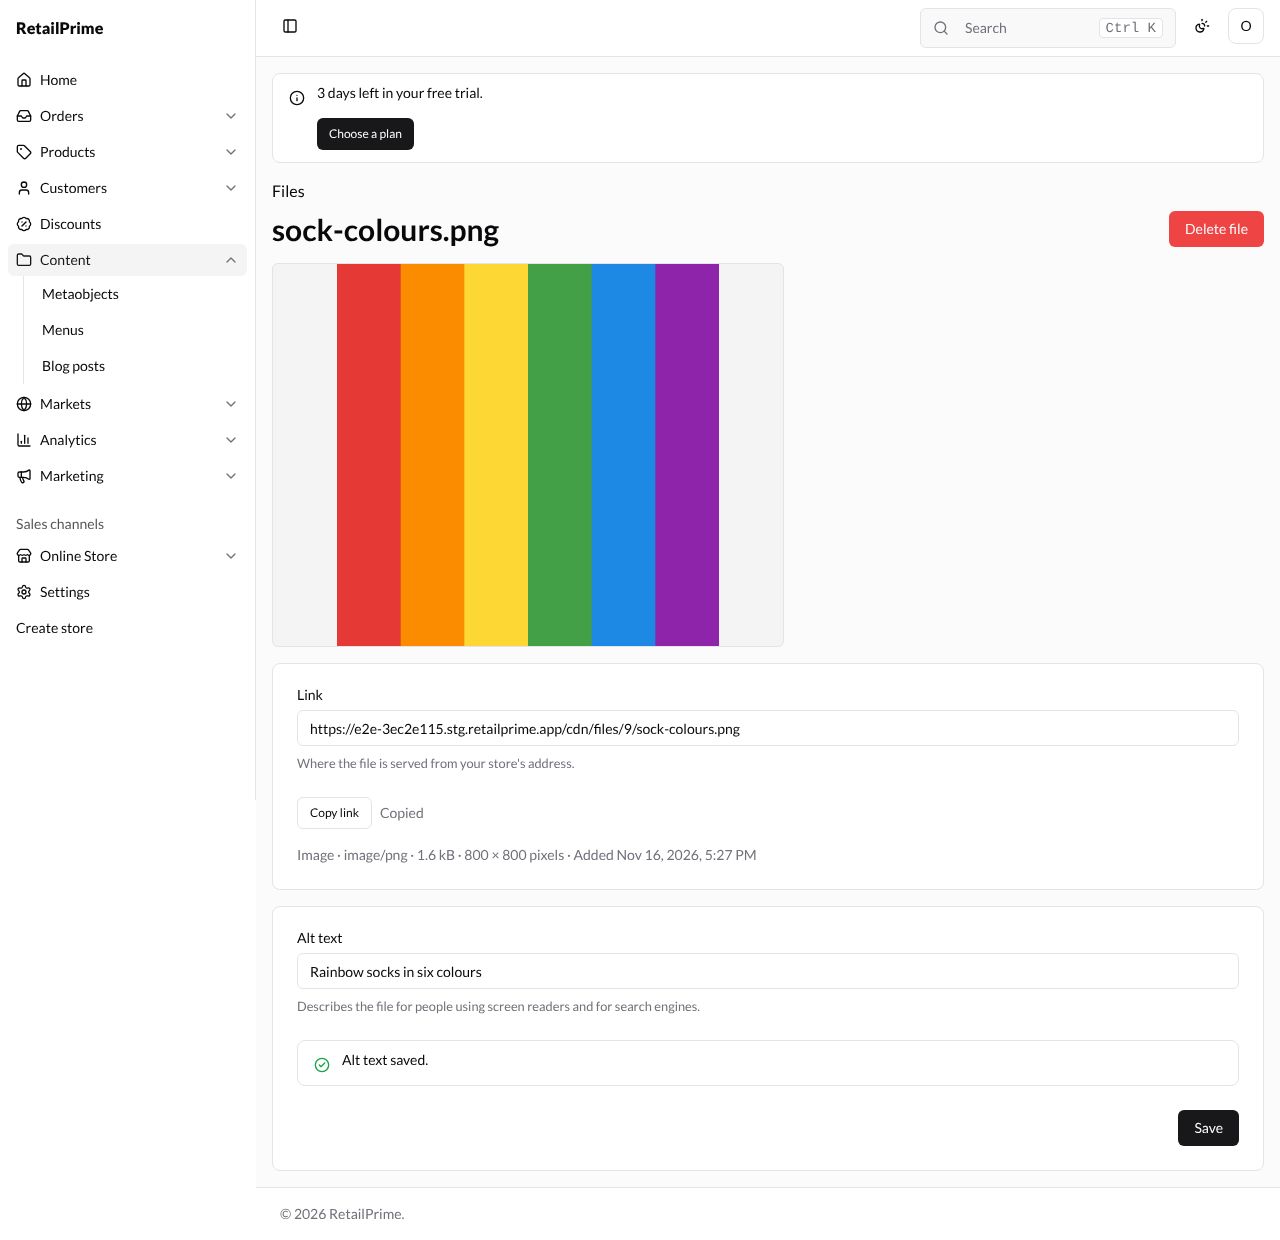
| Part | What it is |
|---|---|
| Link | The file’s address on your store. Where the file is served from your store’s address. |
| Copy link | Copies the link, to paste somewhere else. Copied shows next to it |
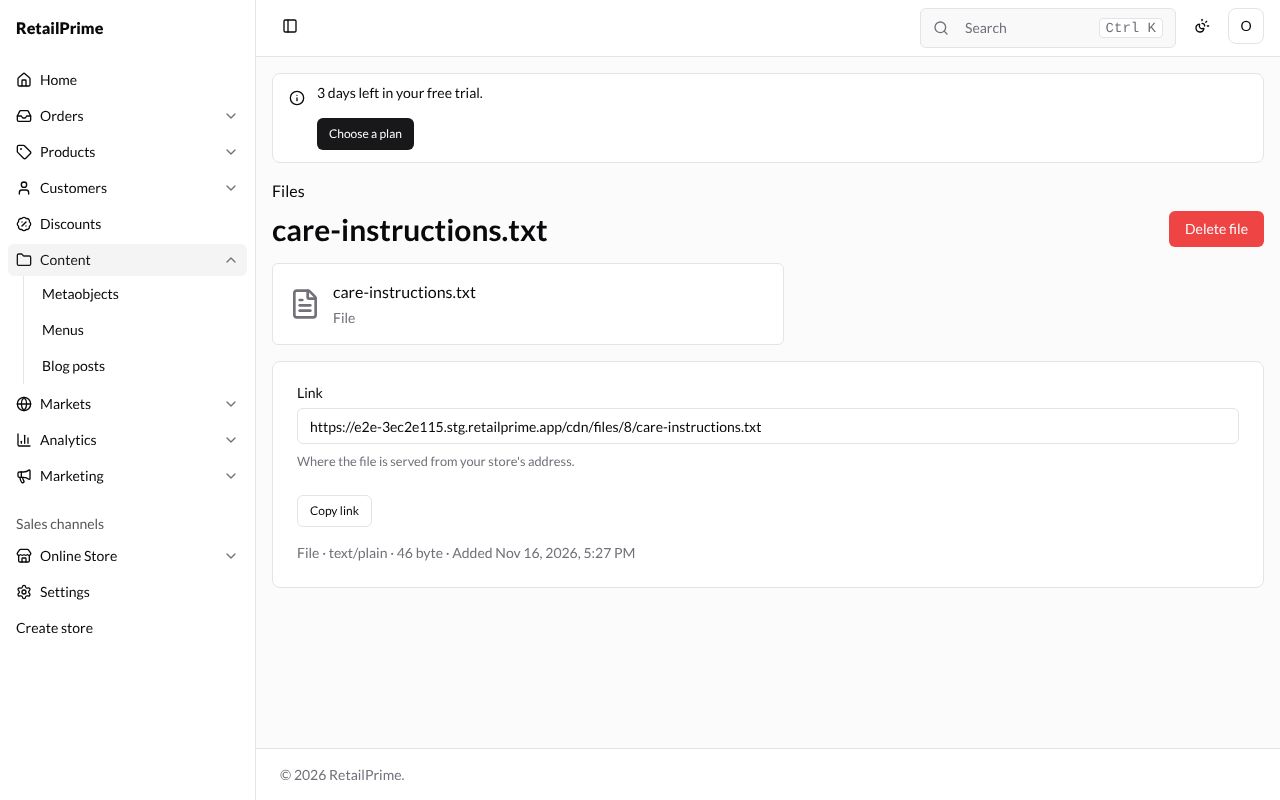
| The line under it | The kind, the file type, the size, the size in pixels for a picture, and when it was added |
| Alt text | Words that describe the picture: Describes the file for people using screen readers and for search engines. |
To add alt text, type it, such as Rainbow socks in six colours, and press Save. The card says Alt text saved.
A file that isn’t a picture, video or 3D model has no Alt text:
Choose from Files
Wherever the Admin asks for a picture (a product’s media, a blog post’s image, the social sharing image in Preferences, a signup form), you can use one already in Files instead of uploading it again. On a blog post, for example:
-
In the Image card, press Choose from Files.
-
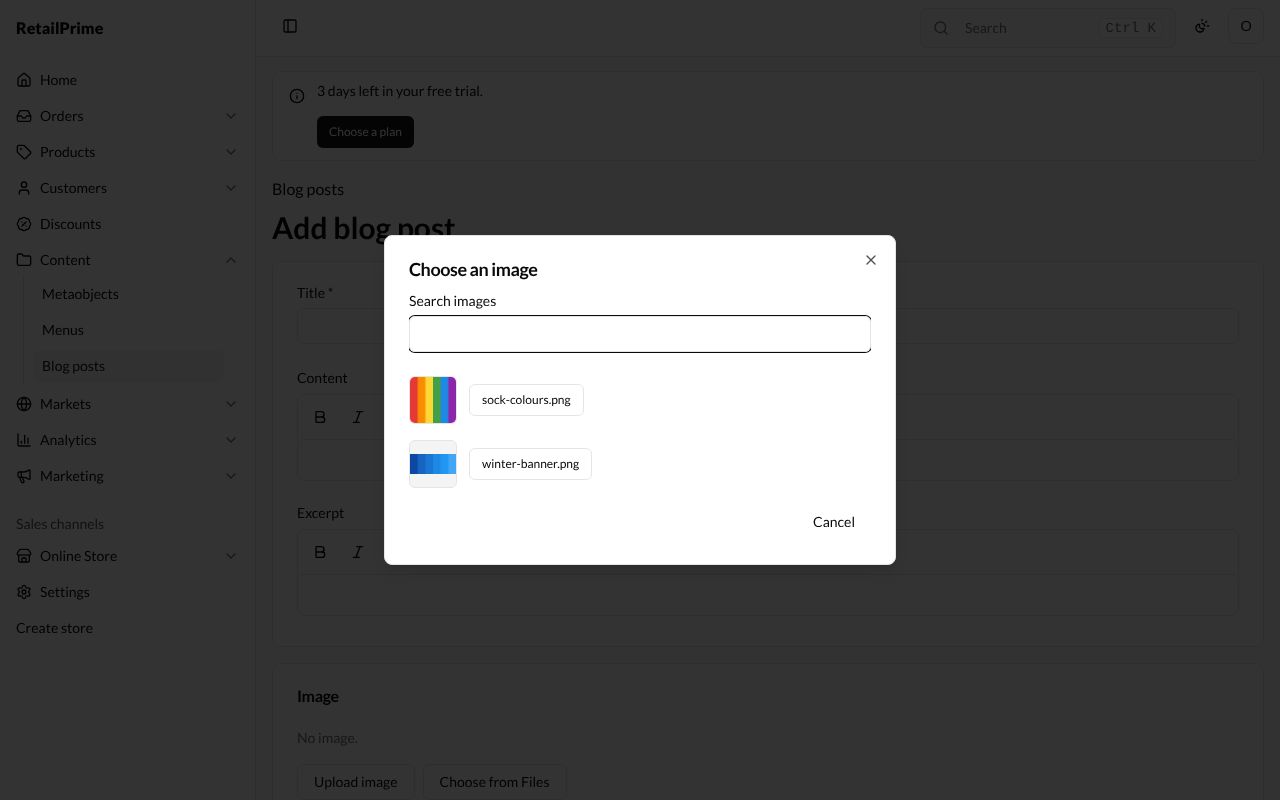
The Choose an image window lists your pictures. Type in Search images to find one, and press its name.
-
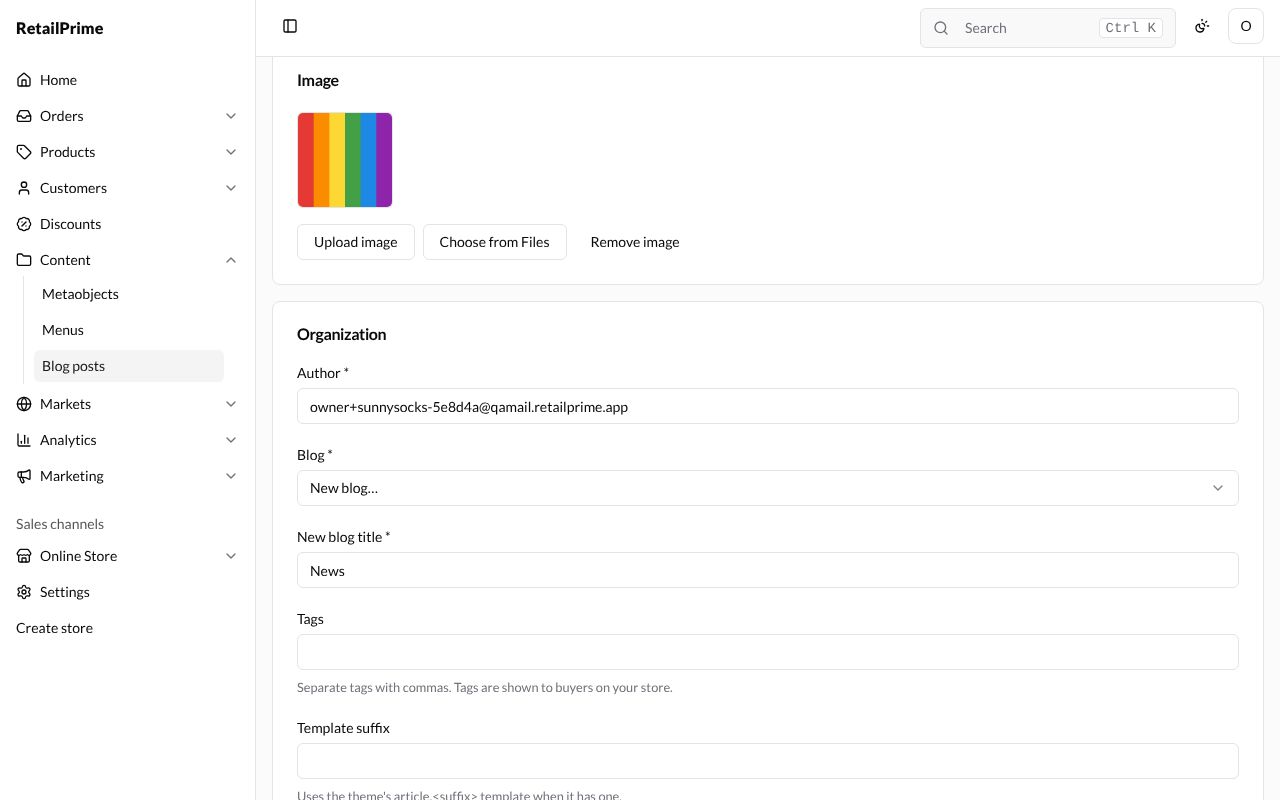
The picture shows in the card, with Remove image to take it off.
The theme editor’s Choose buttons for pictures use Files too (see The theme editor).
Delete a file
-
Open the file and press Delete file.
-
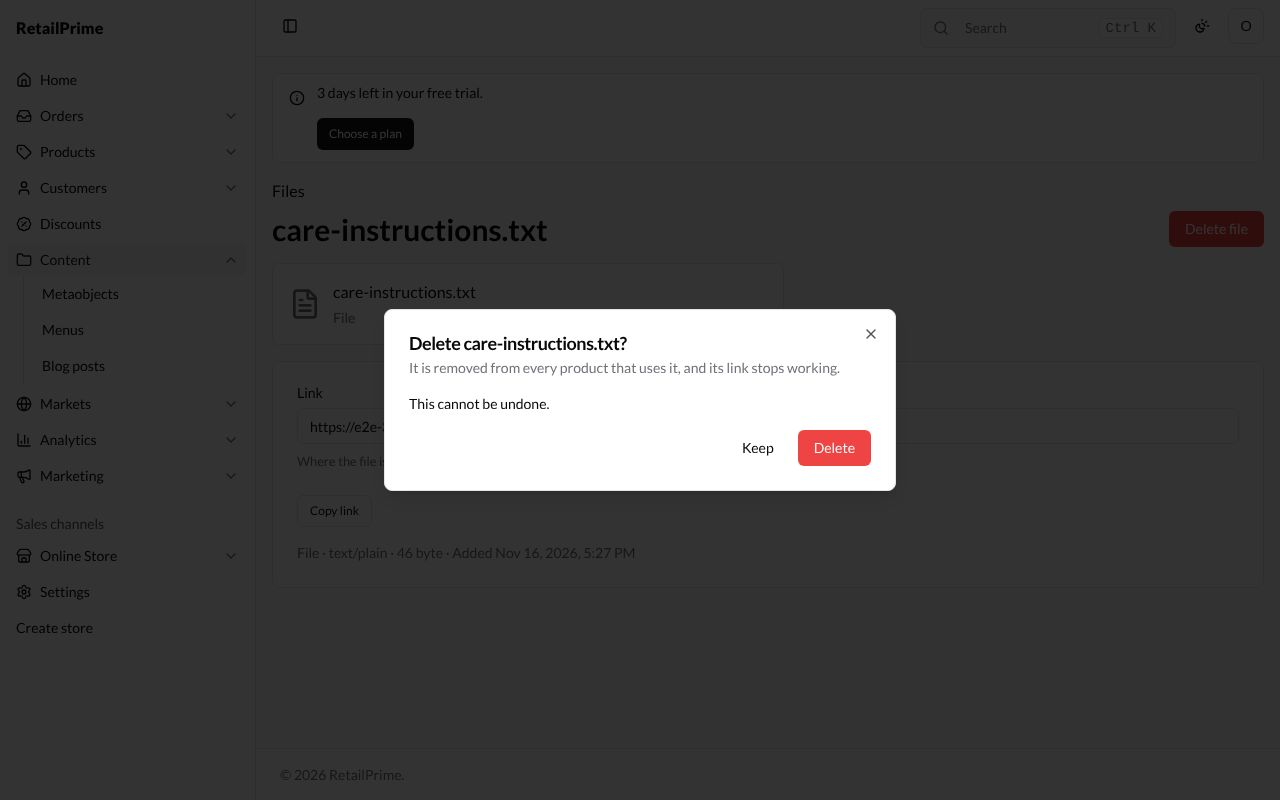
A window asks Delete care-instructions.txt? and says It is removed from every product that uses it, and its link stops working. and This cannot be undone.
-
Press Delete. You are back on the Files list.
What’s next
Metaobjects: keep records of your own, such as your sock designers.