Add and edit a customer
Add a customer by hand, fill in every box, change them later, and keep their addresses.
A customer is a person who buys from your store. Customers are added for you when a buyer signs up or checks out, and you can add them yourself, for example someone who orders by phone. In this page you add Ayesha Khan.
Open Customers
In the sidebar, press Customers. A new store has none yet, so the list says No customers yet.
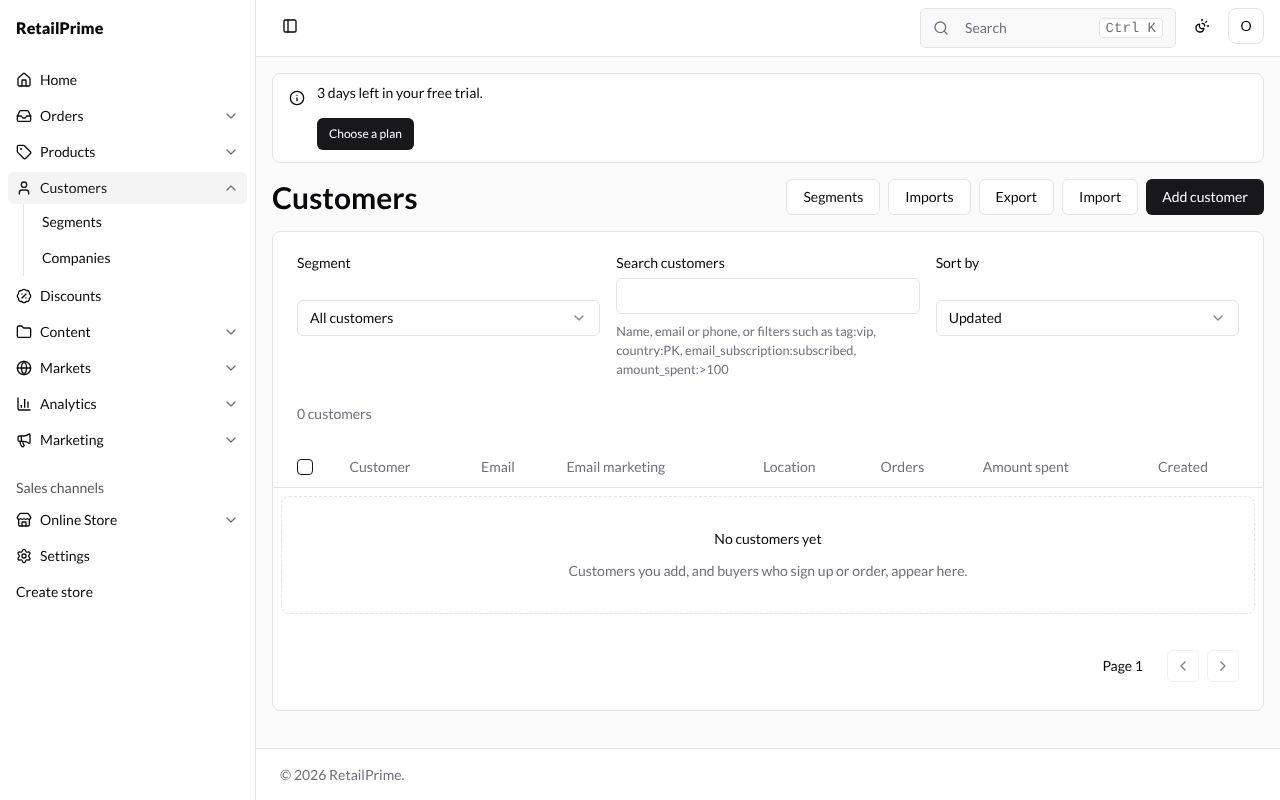
Under Customers in the sidebar you also see Segments and Companies. They have their own pages in this part of the guide.
Add a customer
Press Add customer at the top right. The Add customer form opens:
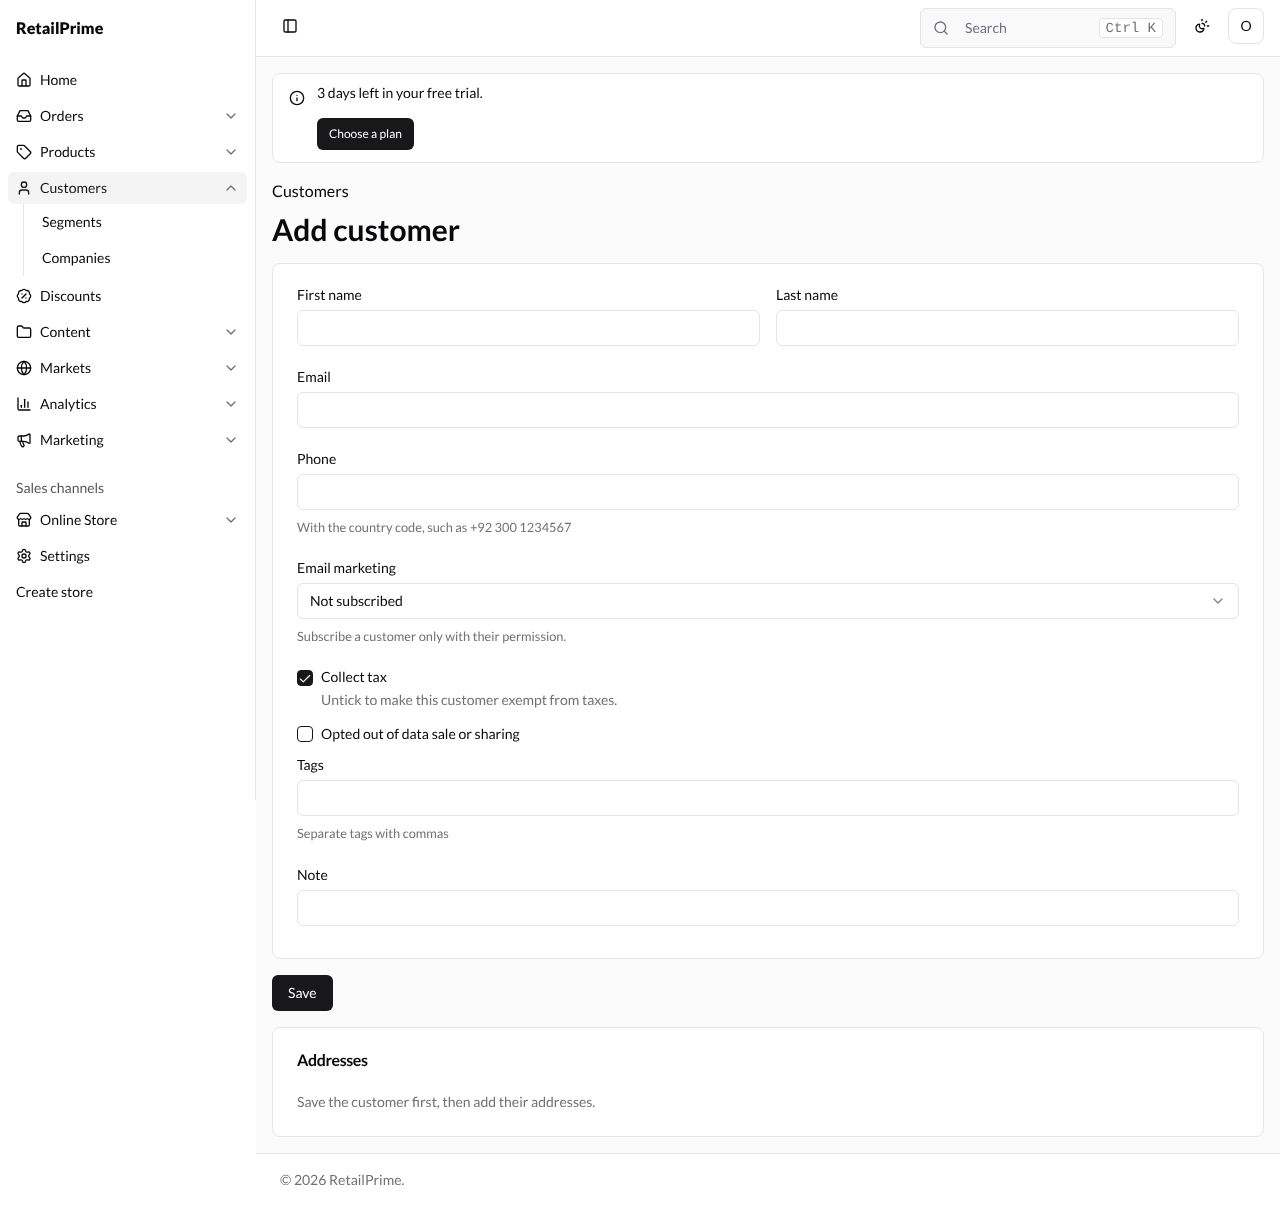
No box has a star, but a customer needs at least one of first name, last name, email or phone.
| Box | What to type | Example |
|---|---|---|
| First name | The customer’s first name | Ayesha |
| Last name | Their last name | Khan |
| Their email address. Two customers can’t have the same email | ayesha.khan@qamail.retailprime.app |
|
| Phone | Their phone number with the country code, as the hint under the box says | +92 300 1234567 |
| Email marketing | Not subscribed, Subscribed or Unsubscribed: whether they agreed to get your marketing emails | Subscribed |
| Collect tax | Ticked: taxes are charged to this customer. Untick it to make them exempt from taxes | Leave it ticked |
| Opted out of data sale or sharing | Tick it when the customer asked you not to sell or share their data | Leave it empty |
| Tags | Words that help you group and find customers, separated by commas | vip, wholesale |
| Note | Anything you want to remember about them. Only staff see it | Prefers WhatsApp. |
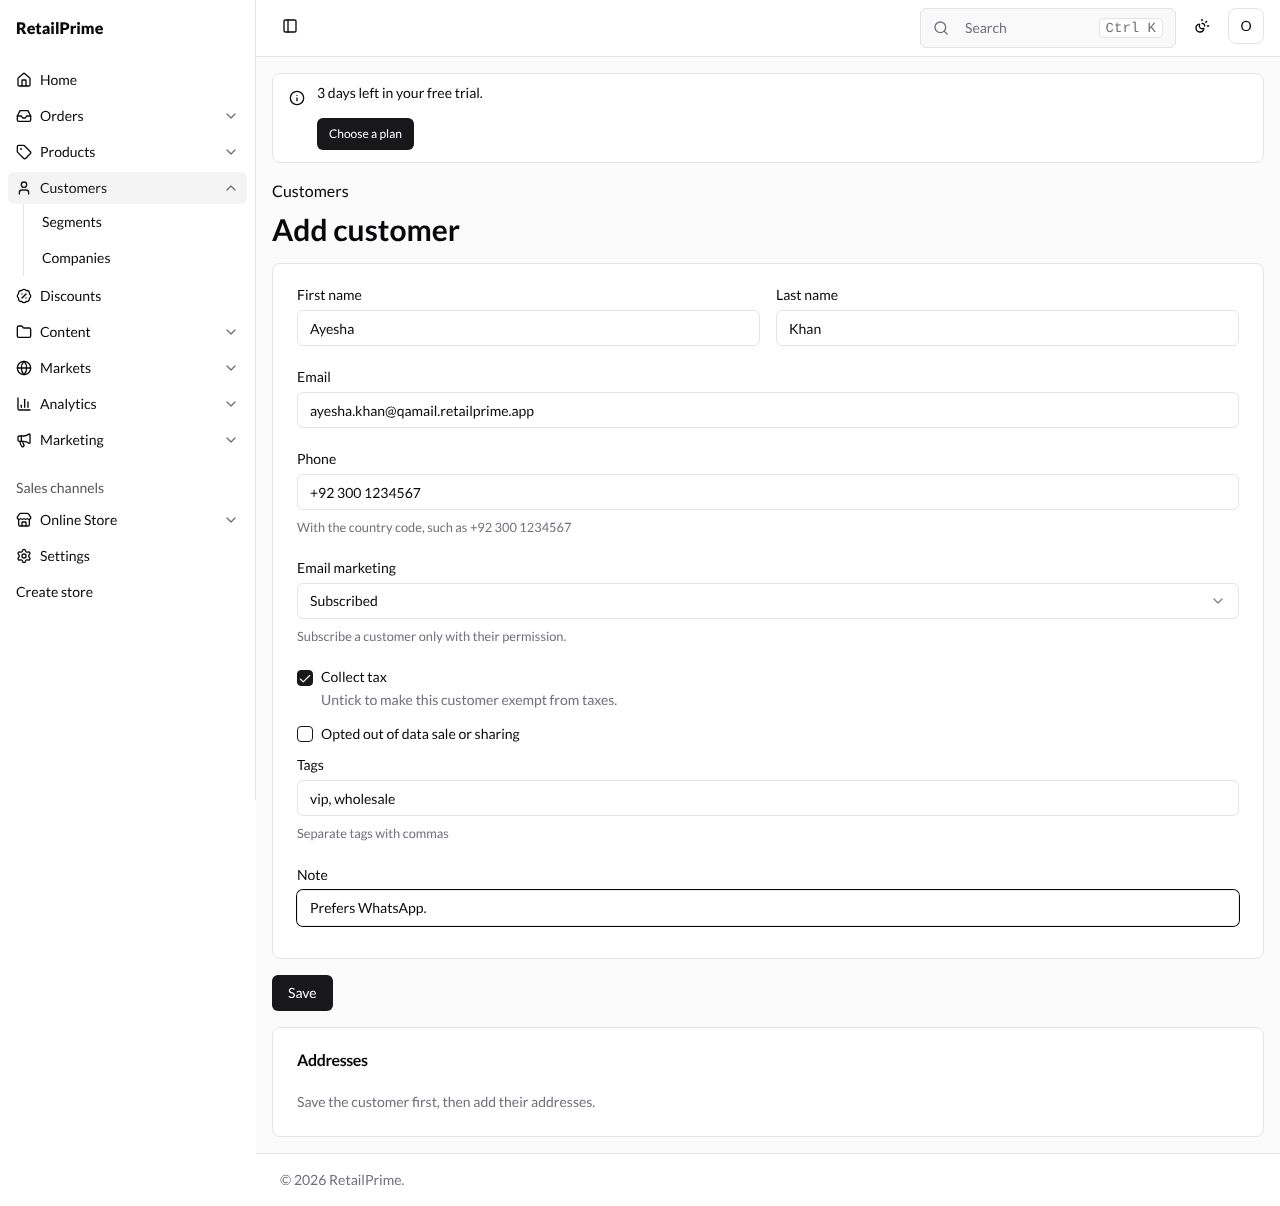
The Addresses card says Save the customer first, then add their addresses. Press Save.
The customer’s own page opens, titled Ayesha Khan, with Customer since and the date under the name. The phone is saved without spaces, as +923001234567.
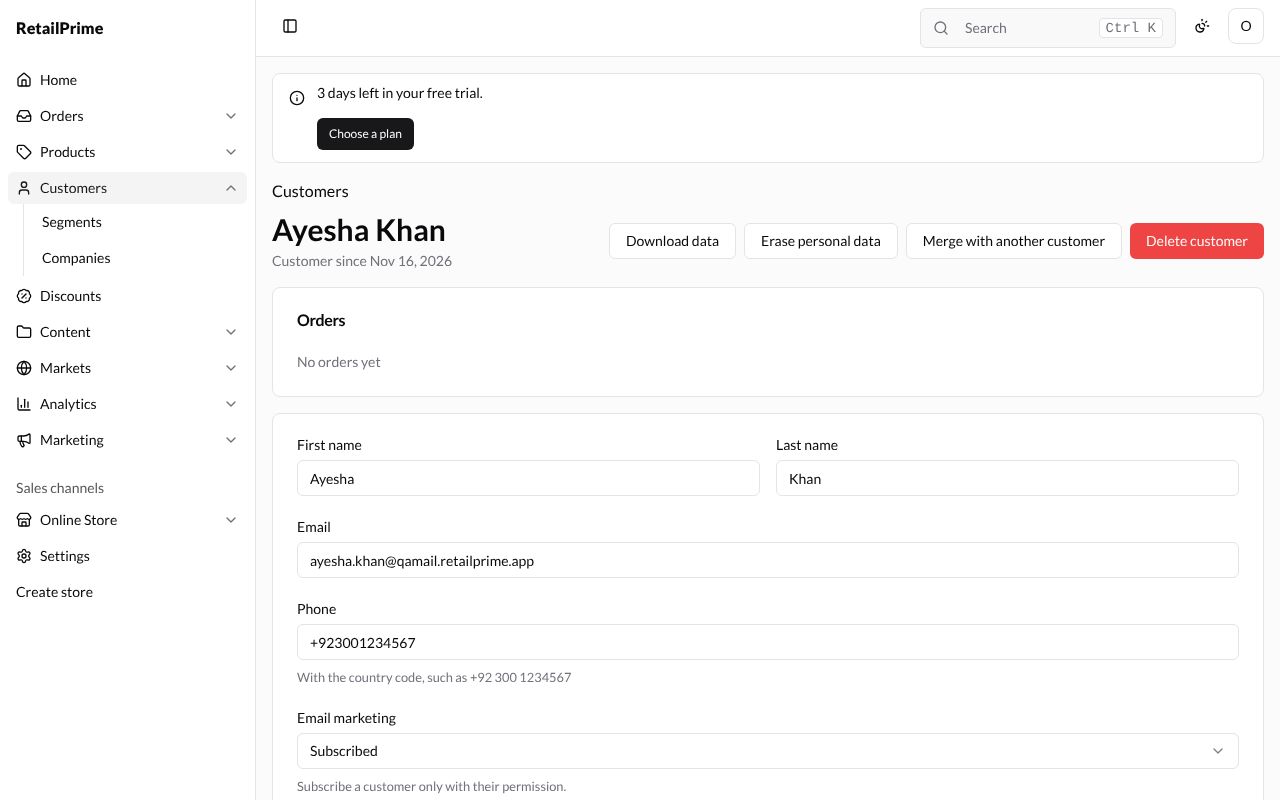
The customer’s page
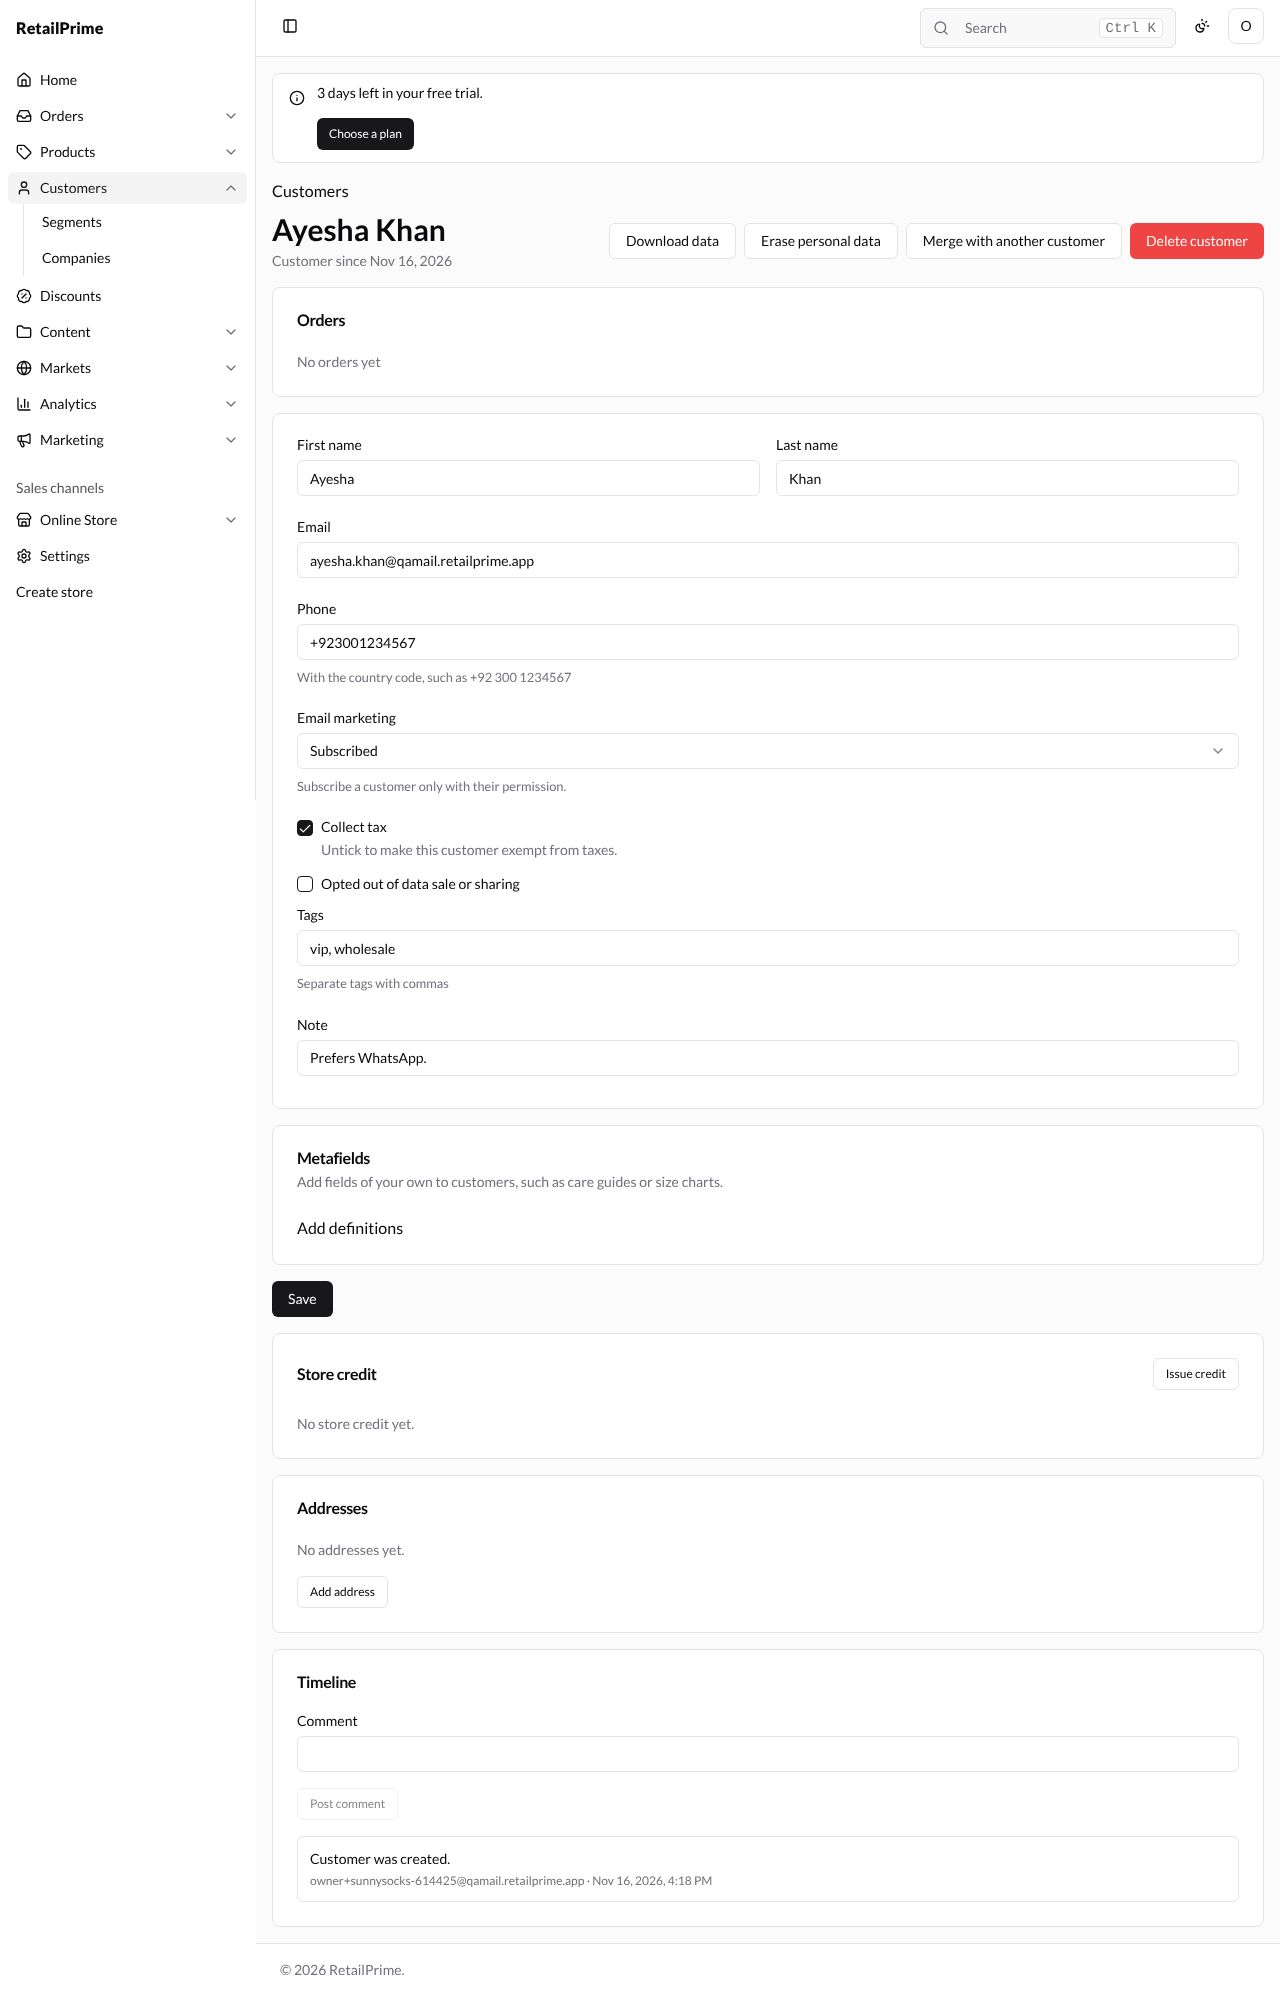
Here is the whole page from top to bottom:
| Card | What it shows |
|---|---|
| Orders | The customer’s orders. A new customer has No orders yet (see Store credit, merge and delete) |
| The details | The same boxes as the Add customer form |
| Metafields | Fields of your own for customers. Add definitions takes you to where you make them, in Settings |
| Store credit | Money the customer can spend in your store (see Store credit, merge and delete) |
| Addresses | Their addresses (below) |
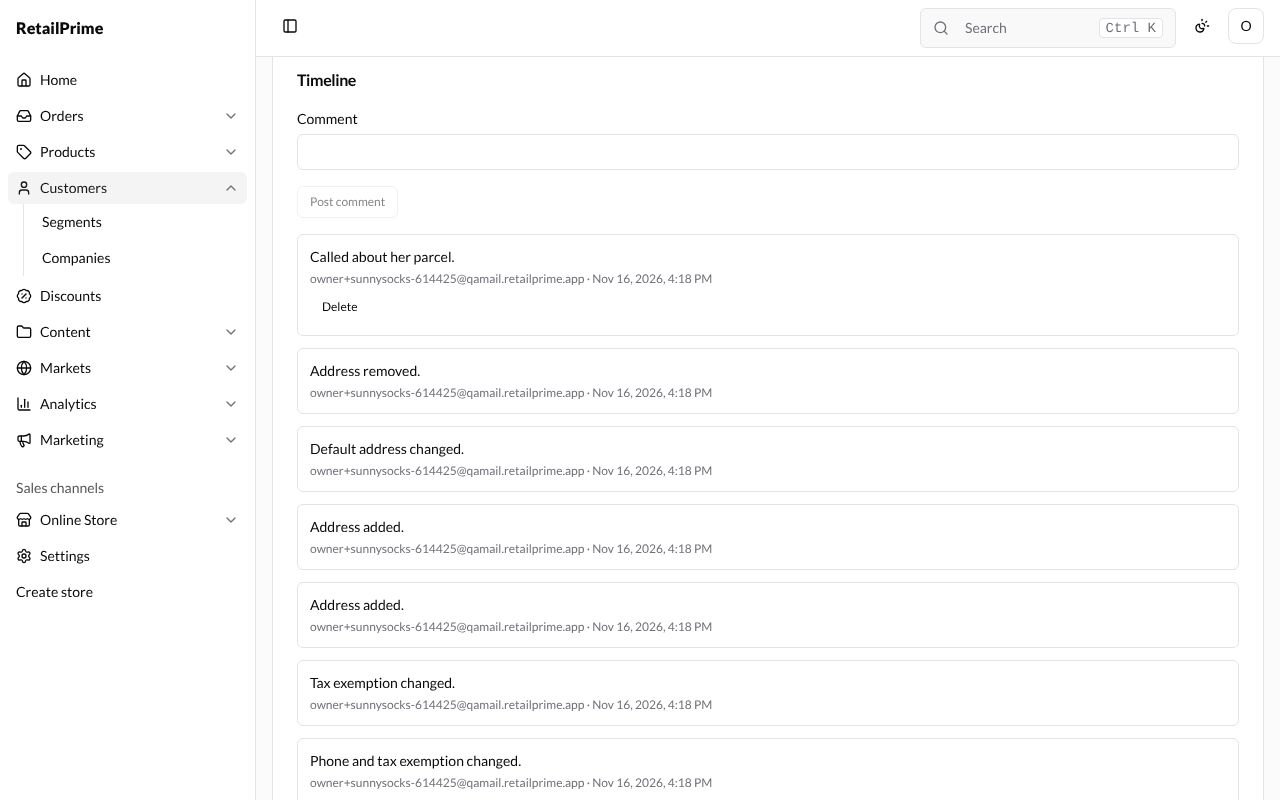
| Timeline | Everything that happened to this customer, newest first, and comments from your staff (below) |
The buttons at the top right are explained in Store credit, merge and delete.
Edit a customer
- Go to Customers and press the customer’s name.
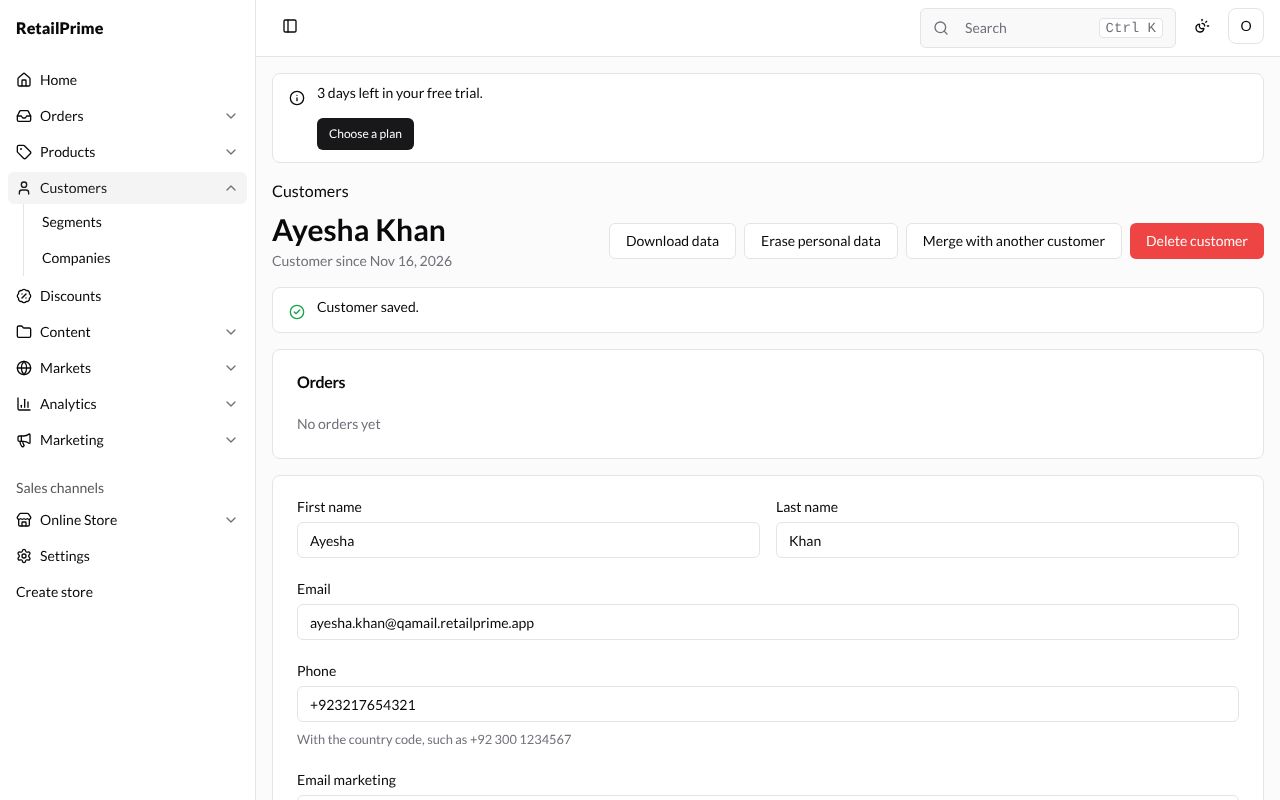
- Change any box. Here we type a new Phone,
+92 321 7654321, and untick Collect tax. - Press Save under the details.
- The page says Customer saved.
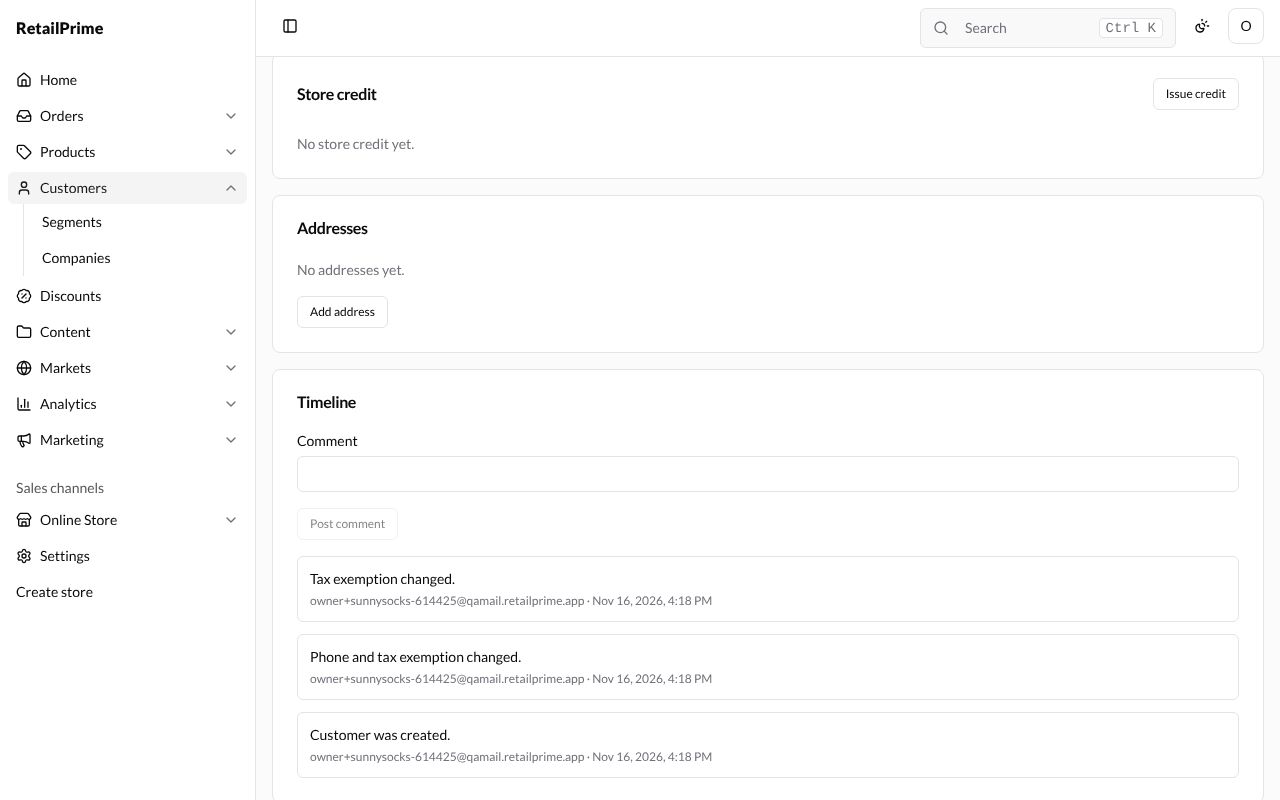
The Timeline records what changed, such as Phone and tax exemption changed., but not the old or new values:
Addresses
A customer can have several addresses. One of them is the Default.
Add an address
- In the Addresses card, press Add address.
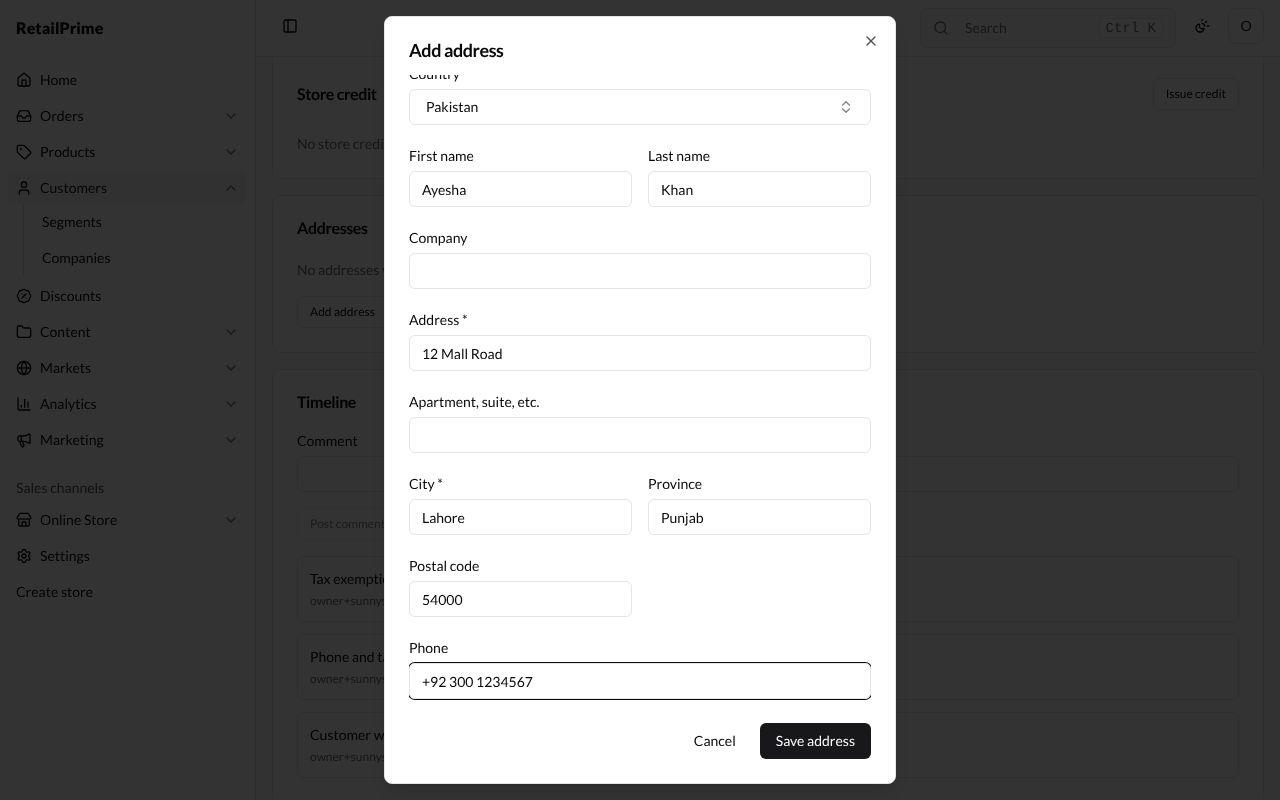
- A box opens: Add address.
| Box | What to type | Example |
|---|---|---|
| Country * | Choose from the list | Pakistan |
| First name, Last name | The name for this address | Ayesha, Khan |
| Company | A company name, if any | (empty) |
| Address * | The street and number | 12 Mall Road |
| Apartment, suite, etc. | More of the address | (empty) |
| City * | The city | Lahore |
| Province | The province | Punjab |
| Postal code | The postal code | 54000 |
| Phone | A phone number for deliveries | +92 300 1234567 |
- Press Save address. The page says Address added. The first address becomes the Default.
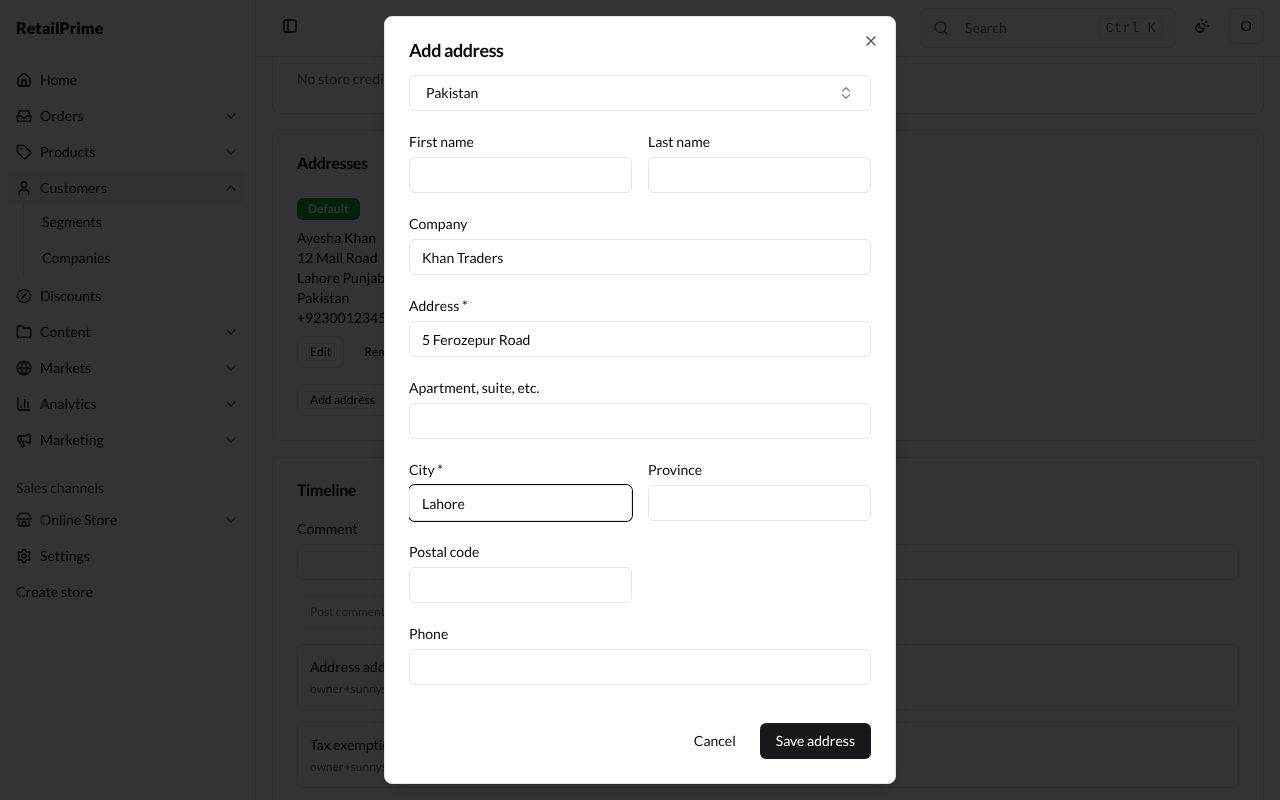
When the customer already has an address, the Add address box has one more box at the bottom: Make this the default address. Here we add a second address for Khan Traders, without ticking it:
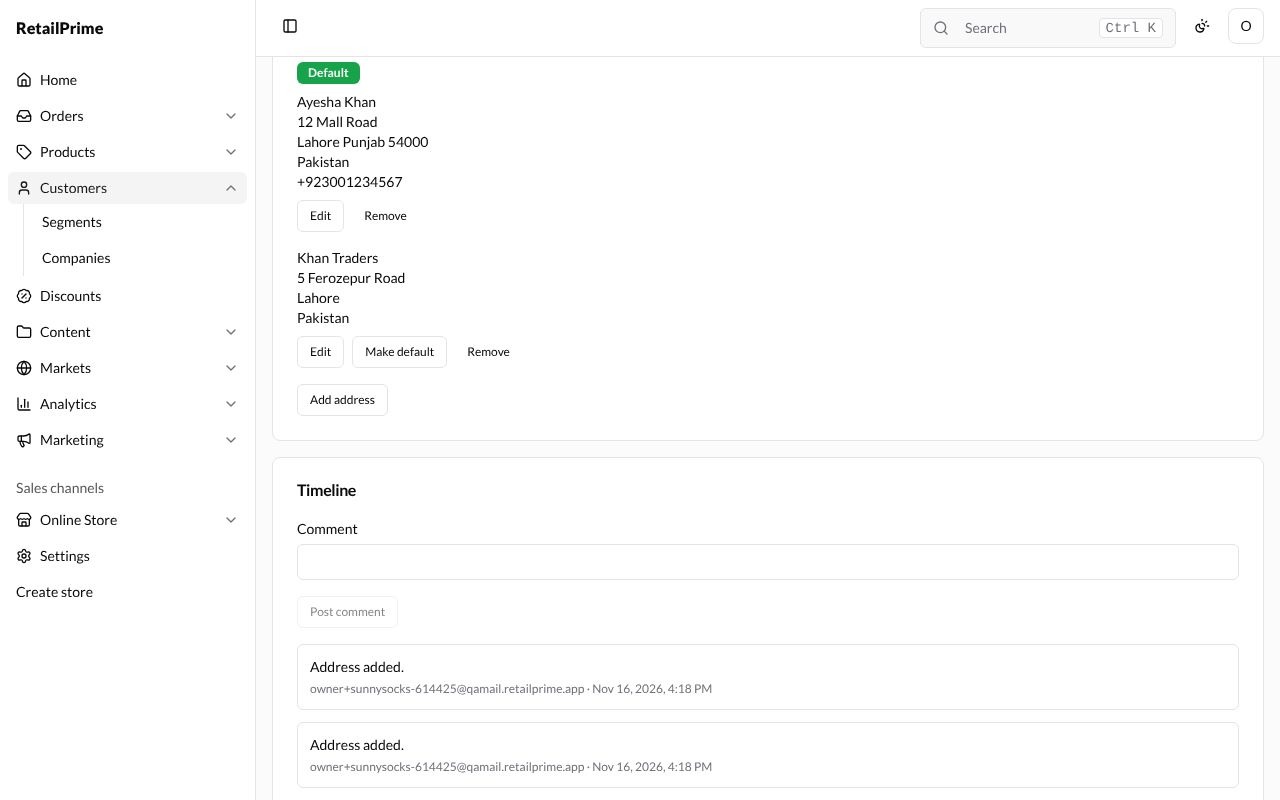
Each address has its buttons under it: Edit, Make default (on addresses that are not the default) and Remove.
Make another address the default
Press Make default under the address. The page says Default address changed. and the Default label moves to it.
Edit an address
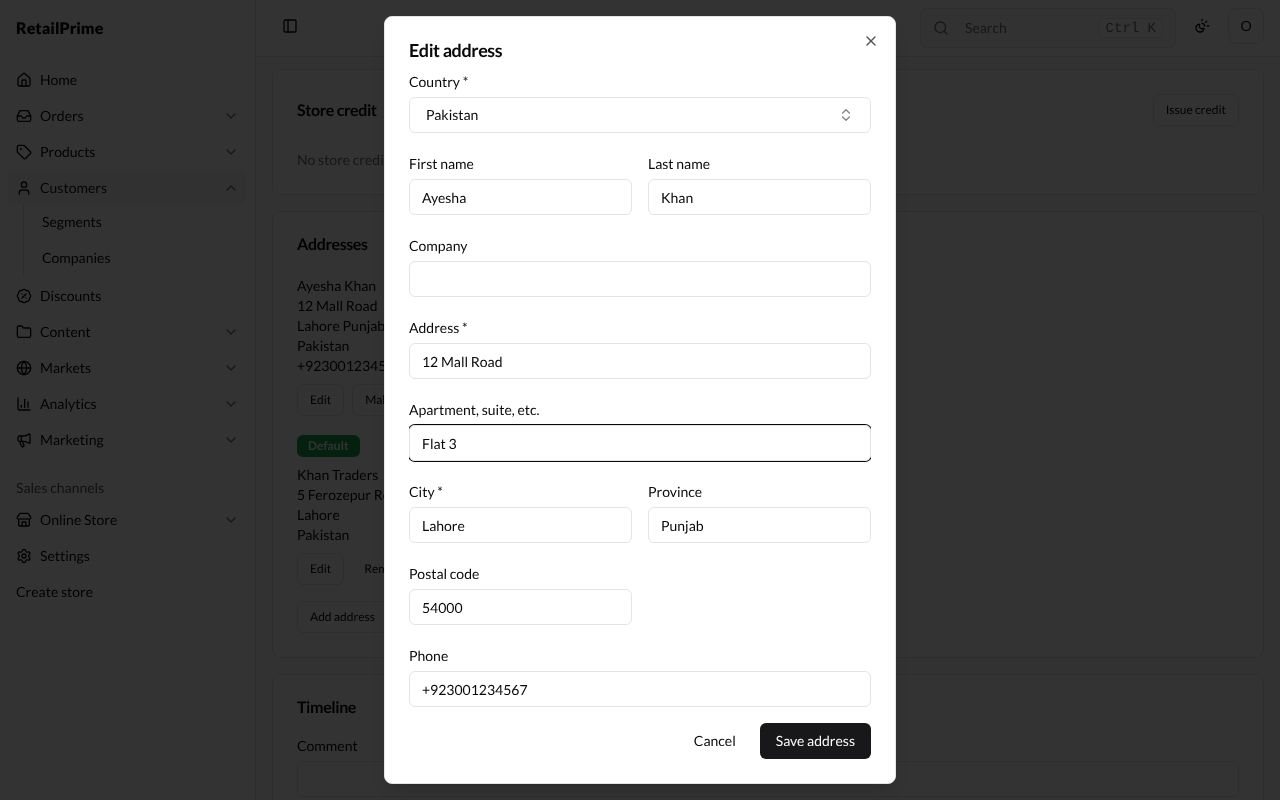
Press Edit under the address. The Edit address box opens with the same boxes, filled in. Change what you need, here Apartment, suite, etc. to Flat 3, and press Save address.
Remove an address
- Press Remove under the address.
- A box asks Remove this address?
- Press Remove, or Keep to change your mind.
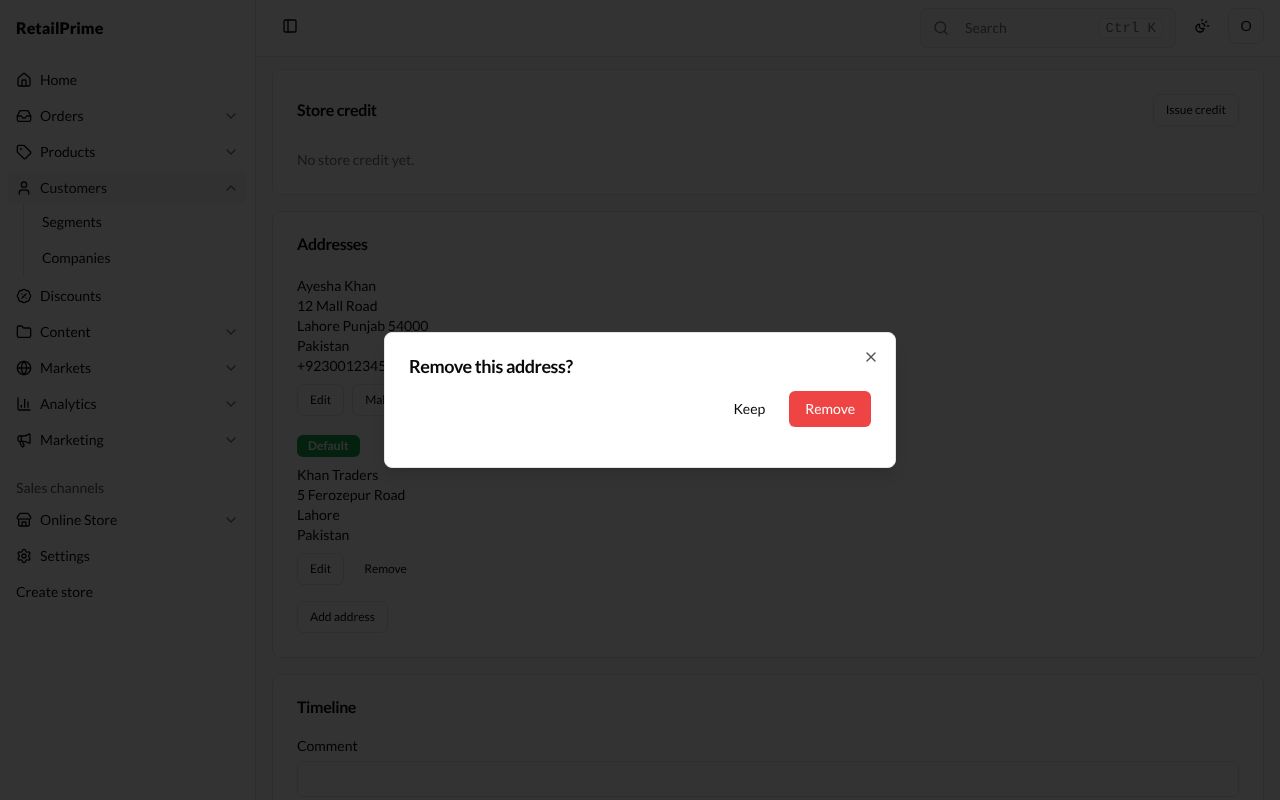
The page says Address removed. When you remove the default address, the first address left becomes the default.
The timeline
The Timeline card lists what happened to the customer, newest first, with who did it and when. To add a note for your team:
- Type in Comment, such as
Called about her parcel. - Press Post comment.
Your comment appears at the top of the list, in bold, with a Delete button under it. You can delete only your own comments.
What’s next
Store credit, merge and delete: give a customer store credit, join two customers into one, and erase or delete a customer.